When, Where and How to Plant Ranunculus
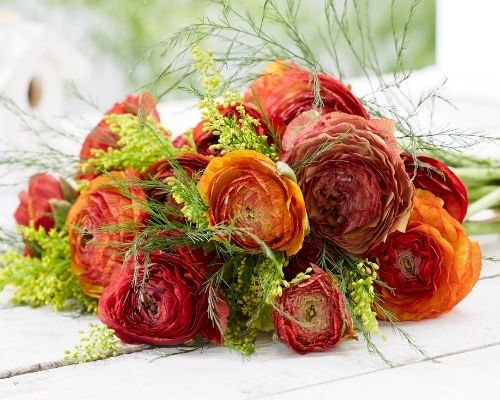
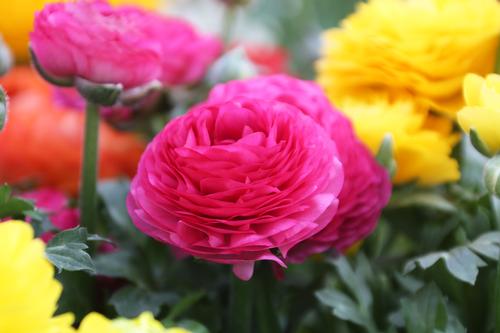
Ranunculus are beautiful spring flowers with rose-like blossoms that come in a rainbow of pretty colors. Even though these delightful beauties can be a bit more challenging to grow than other flowers, the extra work is certainly worth the effort. To give you a good sense of the whole process, this article starts with when you should plant them in your growing zone, how to soak and pre-sprout the corms, bed preparation and planting, and finally how to harvest them for the longest vase life.
When to Plant Ranunculus
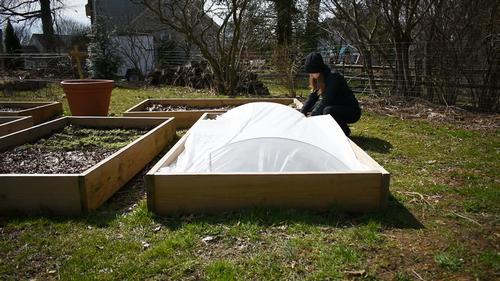
Your growing zone and how much weather protection you can provide determines when your ranunculus corms should be planted. No matter where you live, protecting the corms from freezing is paramount. The plants can take a light frost, but the corms should never be allowed to freeze. In all but the coldest climates, you can protect your ranunculus corms with a caterpillar tunnel made of wire hoops and frost cloth or poly. Be sure to cover the planting area anytime temperatures could dip below freezing.
If you garden in zones 7-10, or are in a colder zone but can protect your ranunculus with a high tunnel or greenhouse, it's best to plant the corms in fall for late winter/early spring blooms. Gardeners in zones 4-6 who do not have a high tunnel or greenhouse, should begin soaking and pre-sprouting the corms in very early spring, approximately four weeks before the last frost date.
How to Soak Ranunculus Corms
When you purchase ranunculus corms, they are in a dormant state. The corms can be stored dry and at room temperature for many months. No special treatment is necessary. Two weeks before you are ready to plant them outdoors, you should soak and pre-sprout the corms. Pre-sprouted corms will bloom approximately three weeks earlier than corms that did not go through the pre-sprouting process.
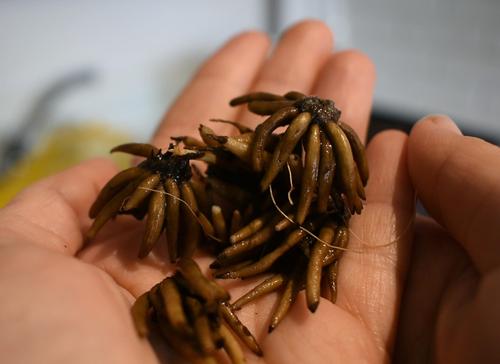
Start by soaking the corms. Place them in a bucket of room temperature water and soak them for four hours (no more!). The water temperature should never exceed 55°F. Change the water every hour by dumping out the old water and refilling the bucket with fresh water. Placing the corms in a mesh bag makes it easy to lift them in and out of the bucket during this process. Other options are to use a fish pump to aerate the water, or leave a gentle stream of water running in the bucket for the four hours. However, dumping and refreshing the water every hour works just fine. After the four hours have passed, you will notice that the corms have plumped up (see photo below).
How to Pre-Sprout Ranunculus Corms
It’s best to use a flat bottom planting tray that has no drainage holes. Fill it with 1-2" of lightly moistened, high quality growing mix. It is VERY important that the soil is not wet, just lightly moistened. Planting medium that is too wet will cause mold issues and can rot the corms. Place the soaked corms with the tuberous fingers pointing down into the medium. They can be placed very closely together as they will only be in the tray for about two weeks. Cover the corms with less than an inch of lightly moistened growing mix. Once again, it’s important for the mix to be lightly moist, not wet.
Place the tray in an area where it can stay cool, dry, and dark. An unheated basement or a spare room where the heat is turned off and the curtains remain closed is generally a good place to pre-spout ranunculus corms. Avoid areas that have high humidity as this can cause your corms to rot. The ideal temperature for pre-sprouting ranunculus corms is 50°F.
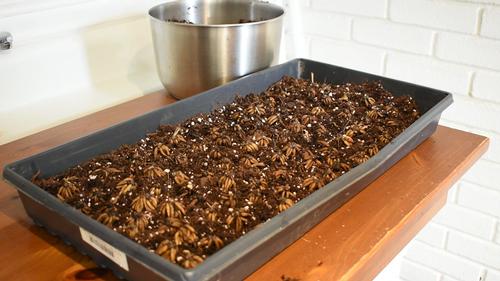
While the corms are sprouting, the soil should stay slightly moist -- never wet, and not bone dry. Check them every day for signs of rot, and immediately discard any corms that are rotten or moldy. When you are first getting started with ranunculuses it is normal to lose some corms. Don't get discouraged. Instead, learn from what you see and adapt your techniques. Once you find the ideal location for the pre-sprouting process, with the right temperature and moisture level, you will lose very few corms.
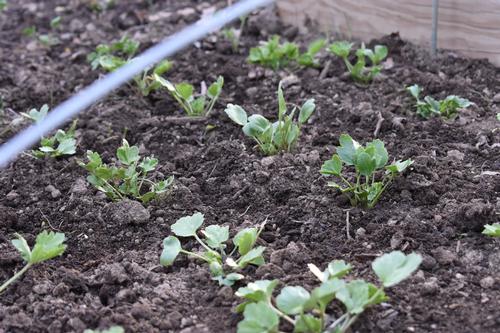
After about two weeks, the corms will have developed roots and begun to sprout. This is the ideal time to plant them out into the garden. Once again, try to correlate your pre-sprout with the time you want them to go out into the garden so that you are not trying to hold over corms that are ready to go outside.
Transplanting Pre-Sprouted Ranunculus Corms
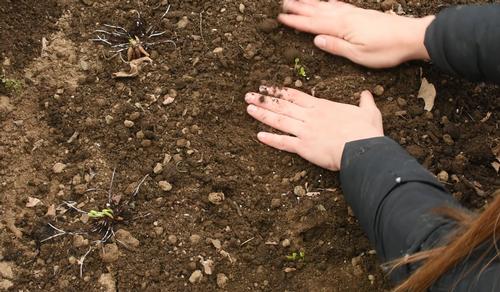
Ranunculus plants need full sun and rich, well-draining soil. Prepare the planting area by incorporating several inches of compost into the soil. Plant the corms 2” deep and about 9” apart. If there’s a chance you could still get some freezing temperatures, cover the planting area with frost cloth. When temperatures are above freezing, the young plants should be exposed to sun and wind. If there’s a possibility that temperatures could dip below freezing, make sure to re-cover them.
What to Expect from Your Ranunculus
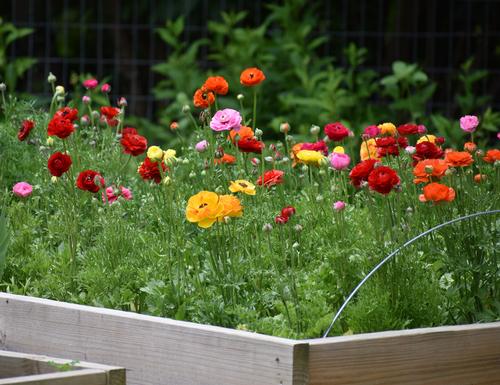
Most ranunculus will begin flowering about three months after planting. Fall-planted corms bloom earlier than spring planted corms, and the blooming period is usually several weeks longer. You can expect to get flowers for 4-7 weeks, depending on planting time and climate. Very warm zones will have shorter bloom times.
Ranunculus are cool climate plants and they do not like the heat. Once temperatures rise above 70°F, the plants stop producing new buds and begin to go dormant. Don't worry, this is normal. Gardeners in very warm zones may find it beneficial to use shade cloth to help shield the plants from too much sun and heat.
Ranunculus are usually treated as annuals -- even in areas where the corms are winter hardy. Purchasing and planting fresh corms each year is the best way to ensure you'll get a great crop of flowers.
As cut flowers, ranunculus have a wonderfully long vase life. They open in the day and close at night. Harvest the flowers after they have opened and closed a few times. Three days of opening and closing is ideal. If the center bud feels hard, wait, and check it the next day. It should feel squishy like a marshmallow. Flowers that are harvested at this stage should have a vase life of 10 days.
If all this sounds complicated, do not be discouraged! Experience is the key to success. Don't be afraid to experiment until you find what works best for you and your particular growing situation and zone. These beautiful flowers are definitely worth the extra time, love, and attention.
For a helpful tutorial, check out this video from Northlawn Flower Farm: How To Grow Ranunculus. Soaking, Presprouting, Planting, Covering, Harvest
Shop for ranunculus HERE.
