How to Plant and Care for Daylilies
Daylilies are well-known for their toughness. They will grow in almost any climate, tolerate a wide variety of soil conditions, are not troubled by diseases or pests, and bloom faithfully with little to no attention.
Fortunately, these summer-blooming perennials are as beautiful as they are tough. You can choose from an astonishing range of cultivars, with sizes and flower colors to suit almost any garden design. This makes daylilies as suitable for flower gardens and landscaping, as they are for rain gardens, naturalized areas and mass plantings. Here are some tips to help you get the most from these hard-working plants.
Select for Bloom Time and Flower Height
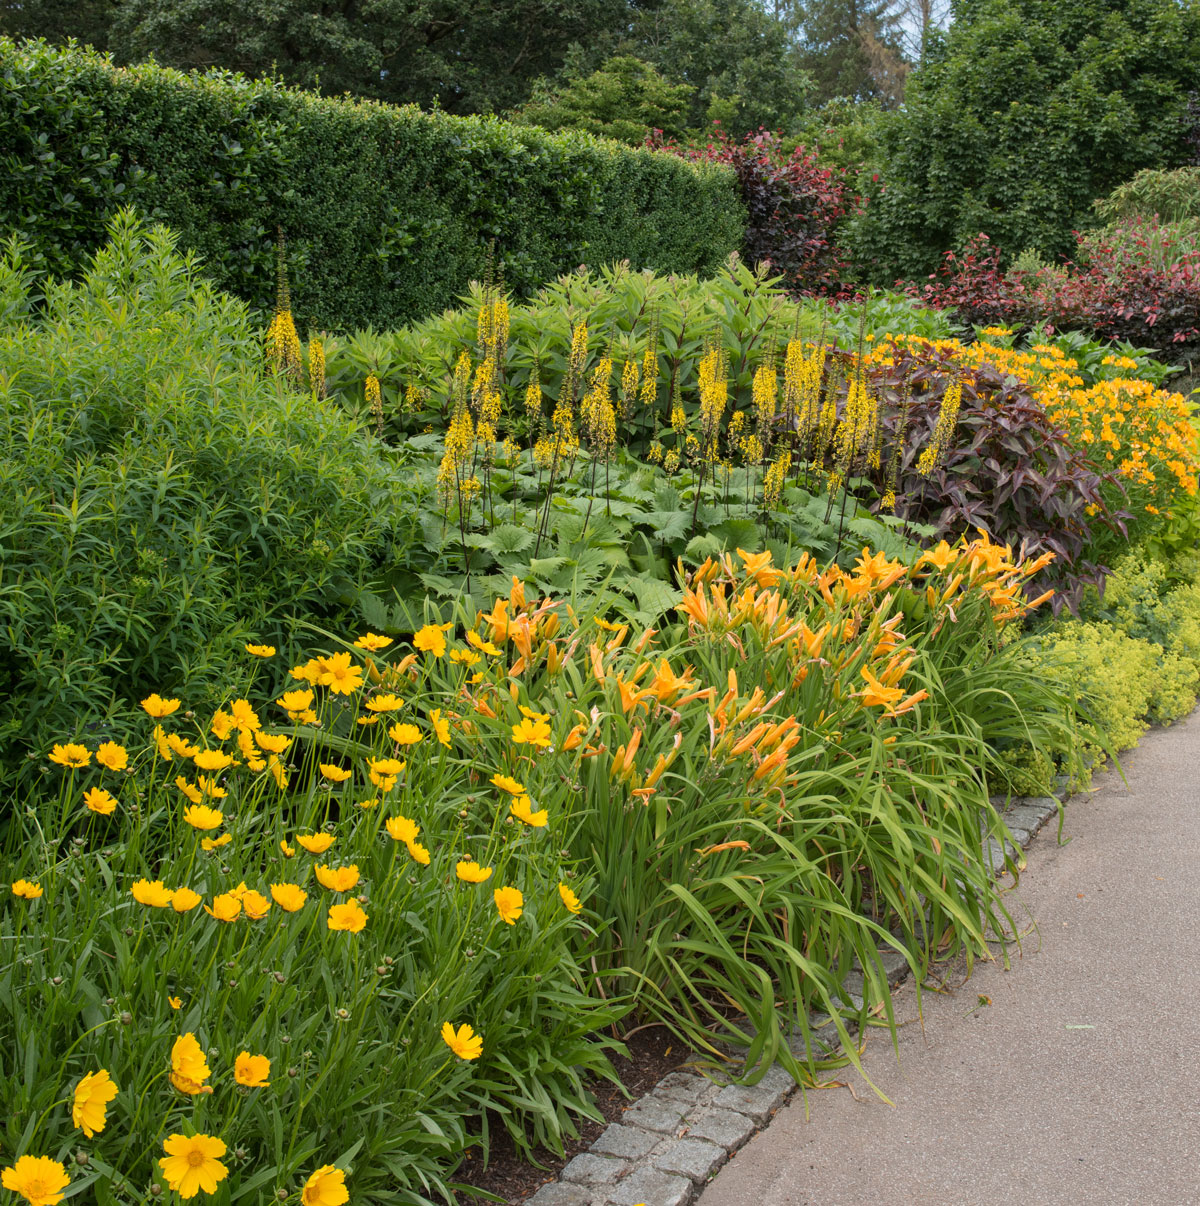
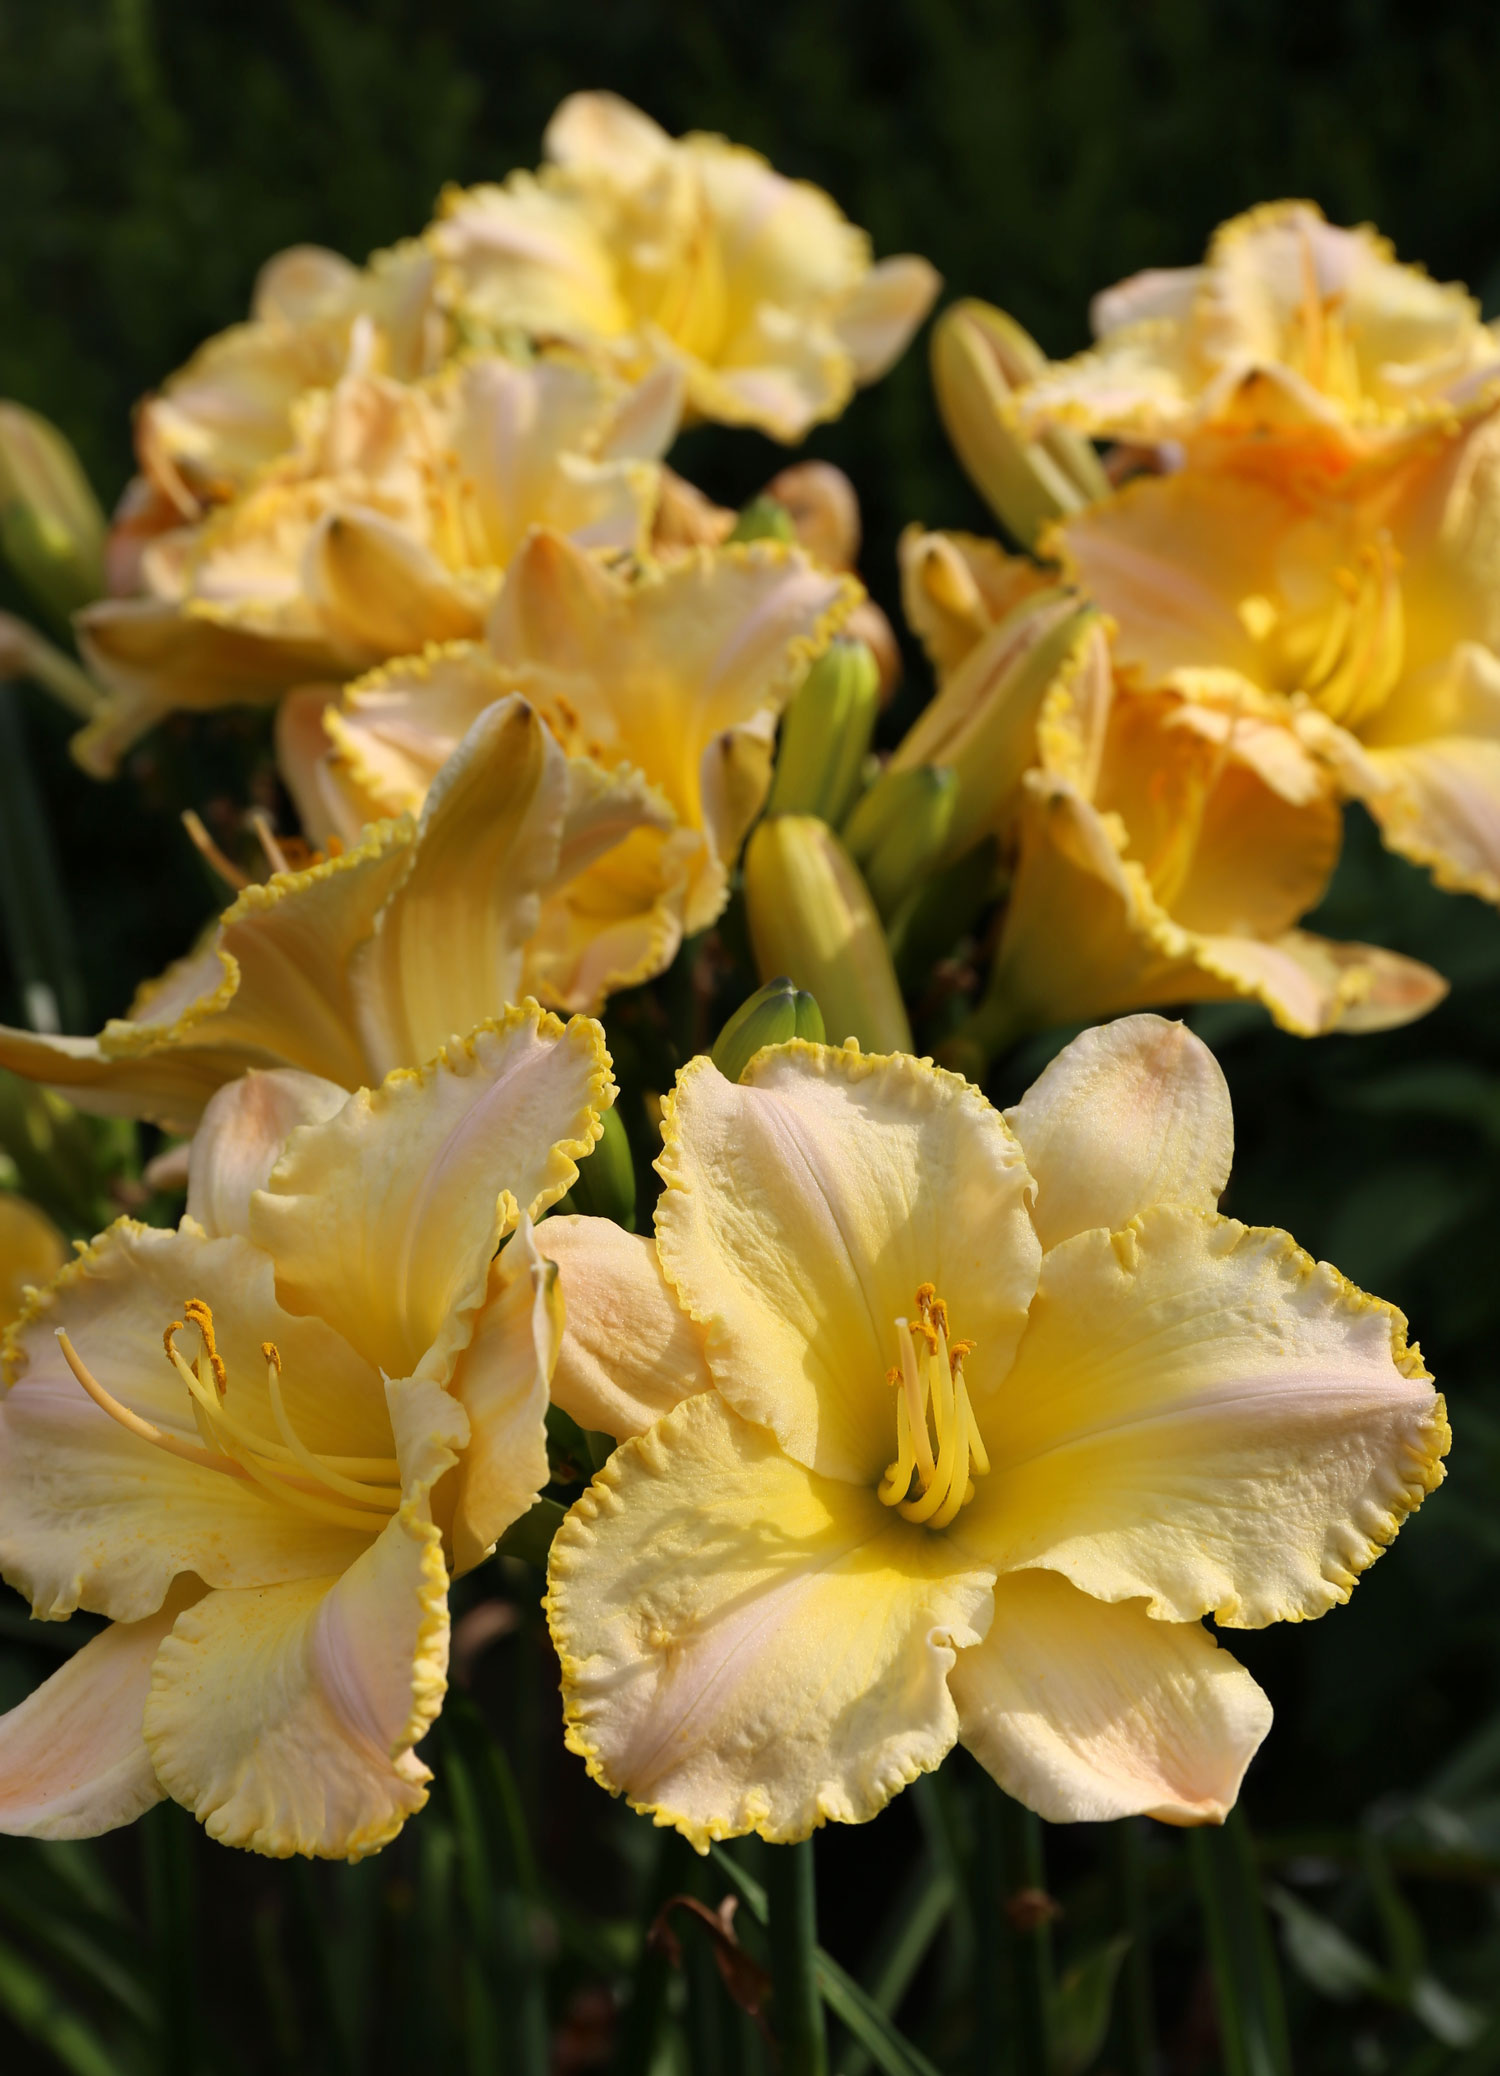
Daylilies are relatively easy to hybridize, and over the past 50 years, plant breeders have introduced hundreds of different varieties. These can be grouped in a number of ways: by bloom time (early, mid, late and reblooming), flower color (white, yellow, pink, red, orange, purple and bicolors), foliage height (1 to 3 feet), flower height (1 to 6 feet), and flower form (trumpet, double, ruffled or recurved).
When shopping for daylilies, take full advantage of the many options by doing some research before you make a purchase. Check the plant description or label so you know what to expect. If possible, try to see some of these plants in person by visiting an official American Daylily Society Display garden. There are more than 250 sites around the country. Click HERE to find one near you.
Give Daylilies a Sunny Spot
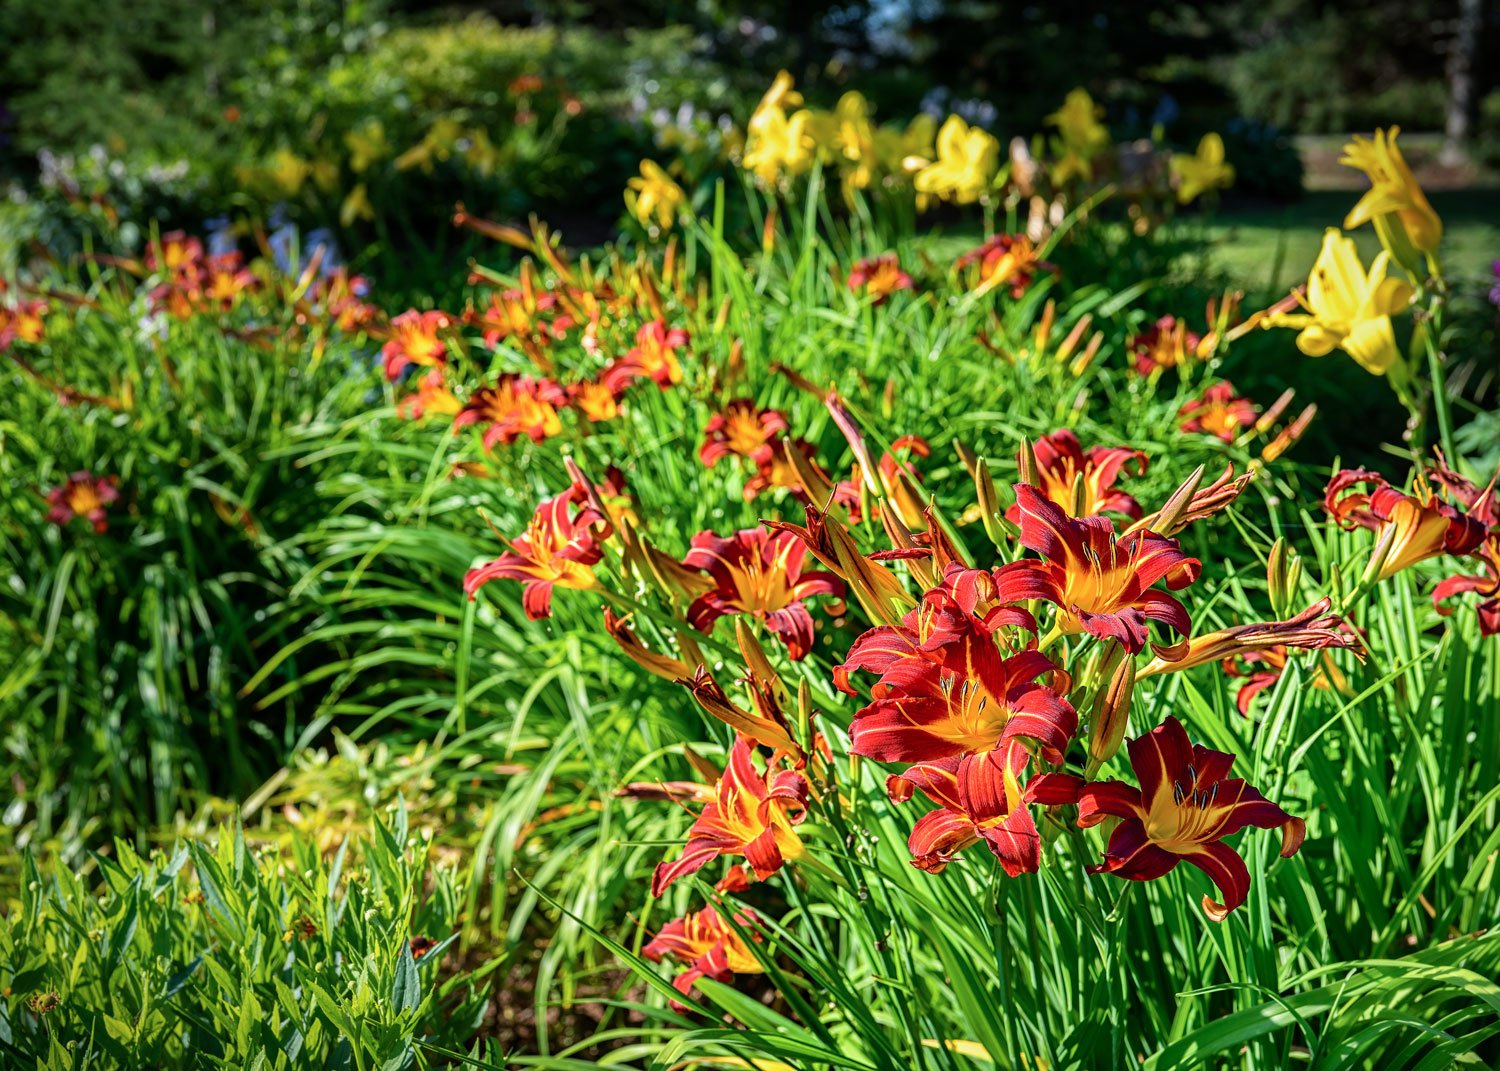
Daylilies are high energy plants that need at least 6 hours of direct sunlight to produce a good display of flowers. If the plants are grown in partial shade, they will have nice foliage, but not as many flowers. In hot climates, daylily cultivars with dark flowers hold their color better when they get some afternoon shade.
If you are planting an area that’s dedicated to daylilies, consider adding daffodils, which make excellent companions. The daffodils will bloom in early spring while the daylilies are still dormant. When the daylilies emerge, their foliage helps to hide the daffodils’ yellowing leaves. Plant daffodil bulbs in fall, any time before the ground freezes.
Mulch to Control Weeds and Conserve Moisture
Daylilies are drought tolerant, but prefer growing in soil that stays moist throughout the growing season. In fact, daylilies are perfectly happy to grow near a pond or seasonal waterway. Their dense, shallow root system also does a good job of reducing soil erosion.
If your yard includes areas that are steep or otherwise difficult to mow, daylilies can be a colorful, low maintenance solution. They are also ideal for planting along fence lines, stream banks, drainage ditches and even urban hell strips. The plants don’t mind rocky or compacted soil, and also grow well in containers.
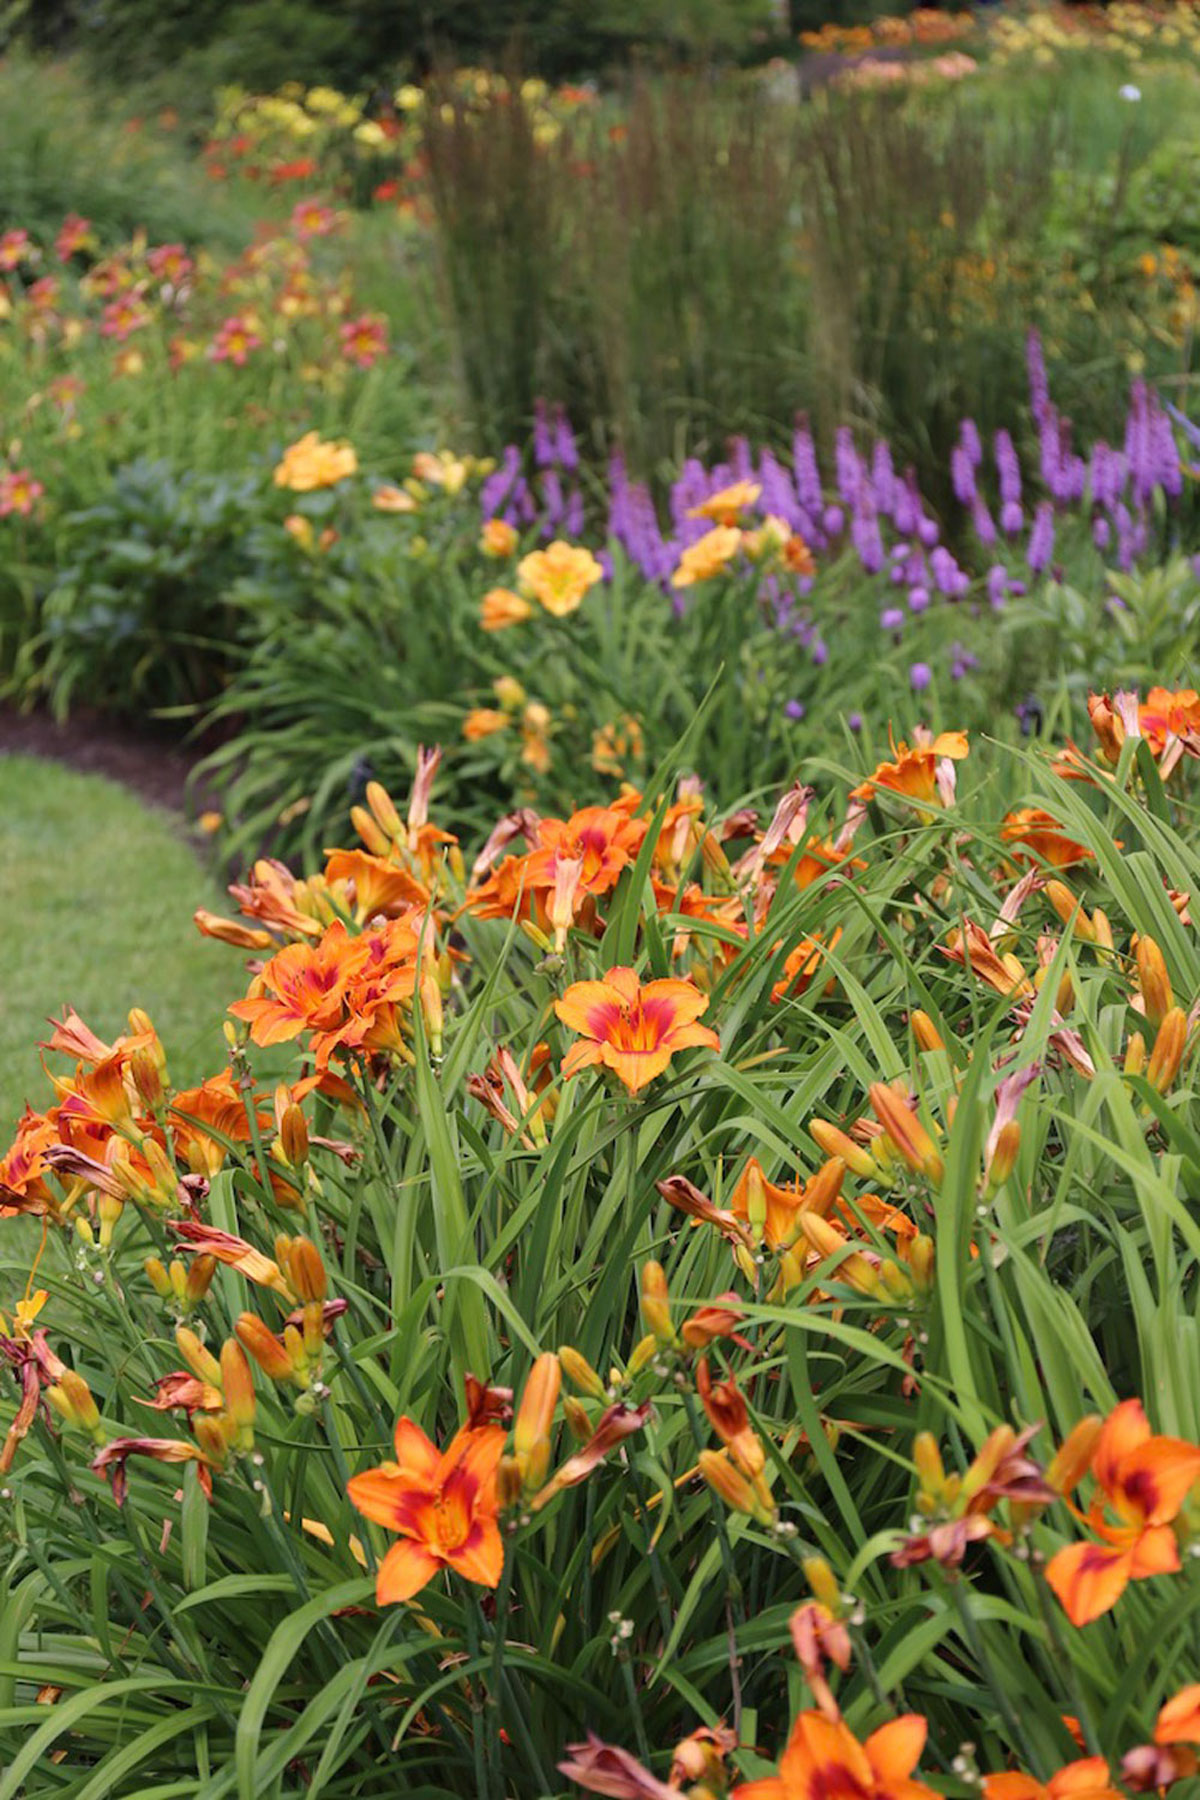
Before planting a large bed of daylilies, take time to prepare the soil and remove all weeds. After planting, apply a 2” layer of mulch to help retain moisture and suppress weeds. This is especially beneficial in dry climates. When using daylilies as a ground cover, plant them 12-18” apart on center and keep the area weeded for the first 2 to 3 years. After that, the plants should be able to out-compete most weeds.
Don’t Hesitate to Move and Divide
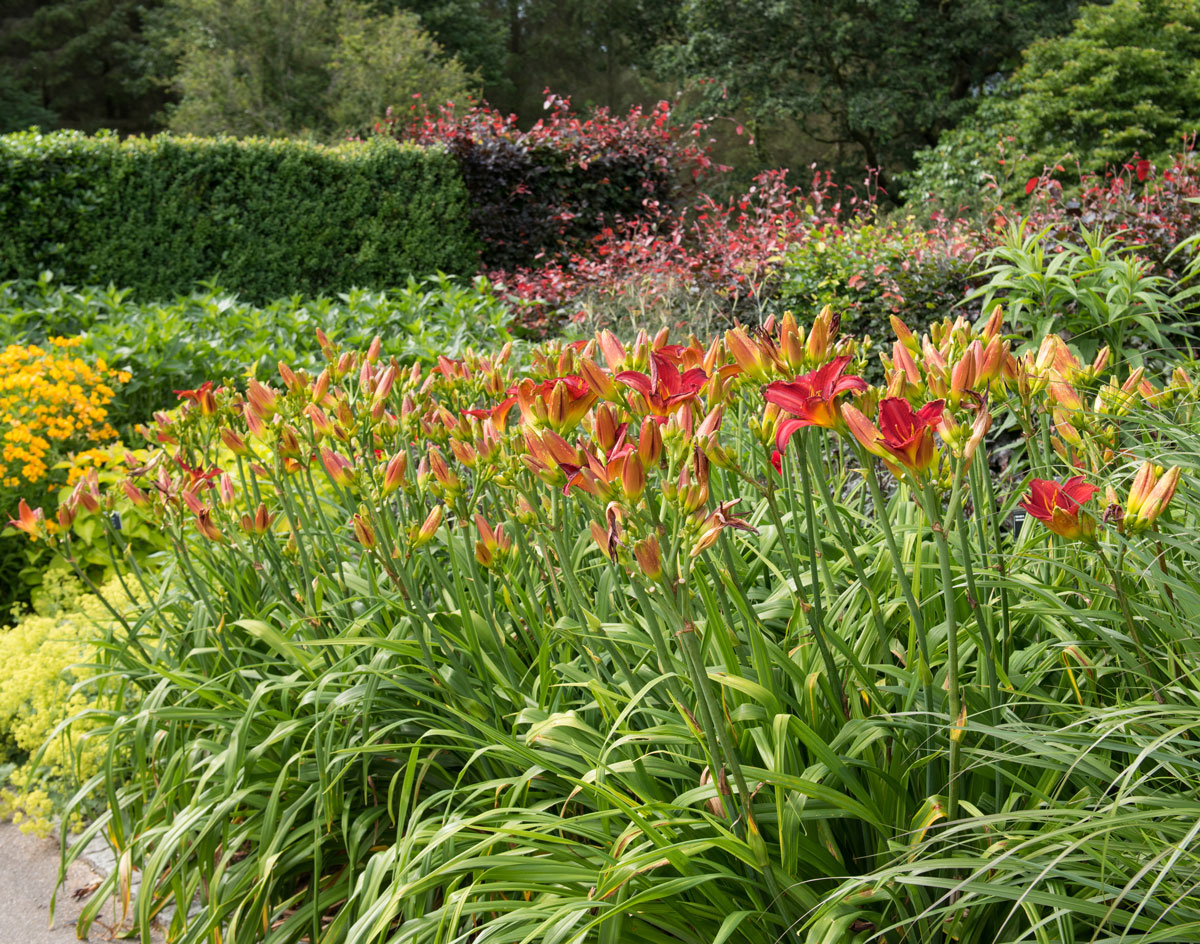
Daylilies are easy to divide and transplant. Their thick, fleshy roots store moisture and energy, and this gives them a built-in buffer while adjusting to a new location. Early spring or early fall are the best times to divide daylilies, though in northern climates it can be done at almost any time during the growing season.
Some daylily cultivars grow more vigorously than others, so there’s no hard and fast rule about when they should be divided. If flowering is diminished and they seem to be getting overcrowded, it’s probably time.
You can either use a sharp spade to carve away portions of the main clump or dig out the entire plant and then cut it into smaller chunks. Trimming back the foliage back to about 5” makes it easier to see what you’re doing. When replanting, position the crown of the plant (where roots meet stem) no more than an inch below the soil surface.
Keep Daylilies Looking Their Best
Each daylily flower lasts just one day. To keep the plants looking their best, snap off the spent flowers, taking care not to disturb nearby buds. Though this sounds tedious, it only takes a few seconds, and afterwards, you’ll be surprised how much better the plants look.
When all the buds on a scape (stem) have finished blooming, cut it back to the ground. This will keep the plant neat and prevent it from putting energy into seed production. In reblooming types, it also encourages another flush of flowers.
Sometimes daylily foliage gets limp or begins to turn yellow immediately after flowering. If this happens, you can cut back the foliage to stimulate a fresh flush of leaves. Another option is to relocate the plant so its leaves are partially hidden by the foliage of neighboring plants.
Most daylilies die back to the ground in winter. A vigorous raking in early spring will dislodge the dead leaves and make way for new growth. Some cultivars are “evergreen” and in warm climates, they may retain their foliage all year round.

