Your Guide to Planning, Planting, and Growing Dutch Iris
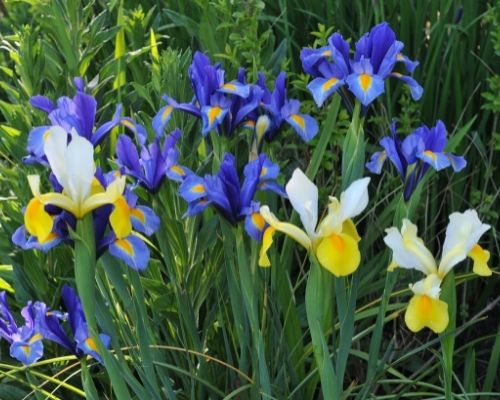
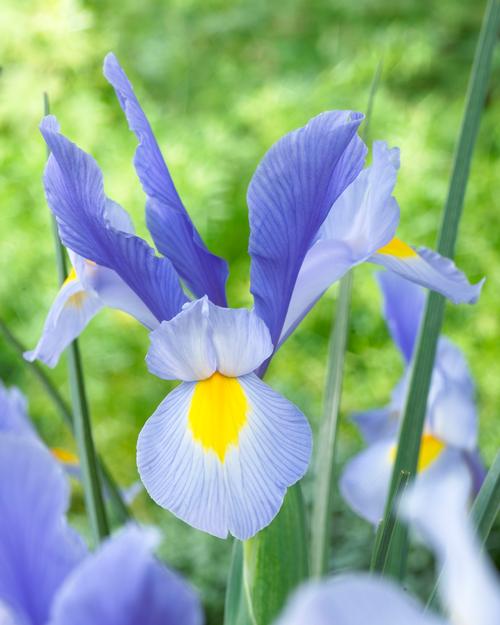
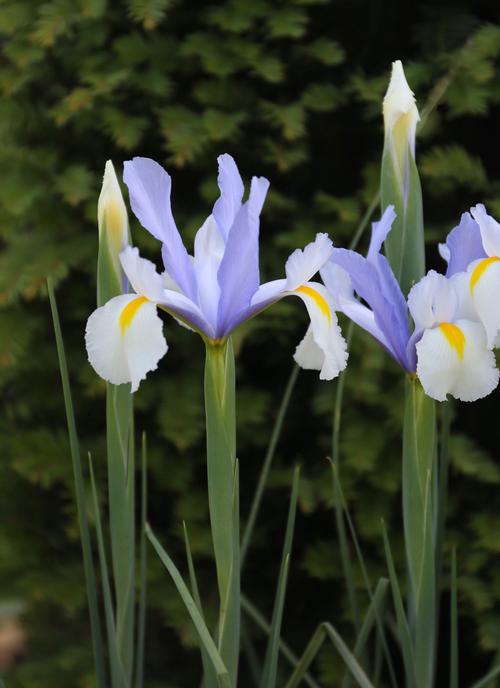
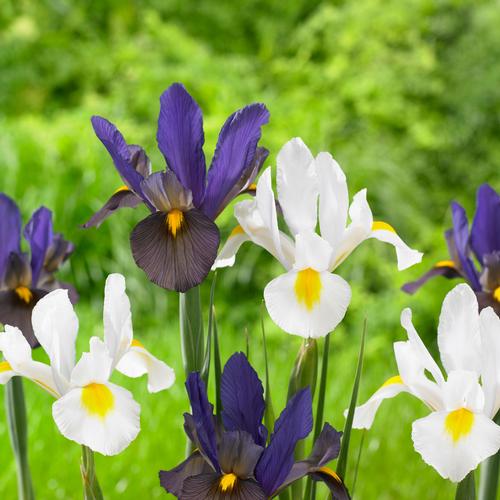
These dramatic, spring-blooming bulbs are also known as Iris hollandica. They have orchid-like flowers with silky petals. Flower colors range from pale blue and lemon through deep purple, bronze, rose and gold. Dutch iris are popular with floral designers as well as gardeners, because they are long-lasting and easy to arrange in a vase.
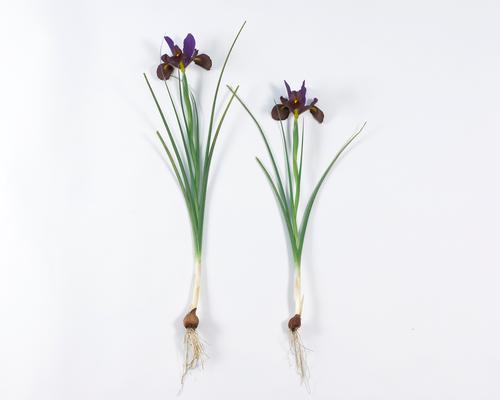
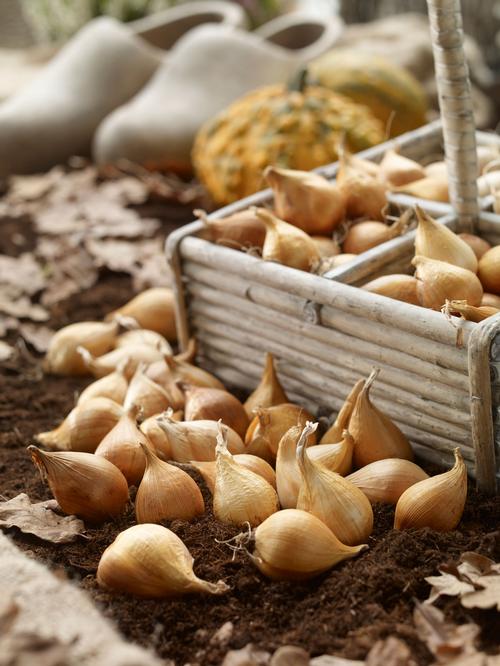
Unlike other types of iris that grow from thickened roots called rhizomes, Dutch iris grow from teardrop-shaped bulbs that are planted in fall.
Start with a Better Bulb
When you compare two Dutch iris bulbs side by side, it’s easy to see differences in quality. Bigger bulbs (like the one on the far left) contain more stored food energy, which means they will produce a stronger plant with more impressive flowers. Longfield Gardens supplies top size, 7/8 cm Dutch iris bulbs so you can enjoy the biggest, brightest blooms.
To shop for Dutch iris, click HERE.
Plan for Success
Sun/Shade: Dutch iris perform best when they are planted in full sun, but they will also grow in part shade.
Hardiness Zone: The bulbs are winter hardy in zones 5-9. If you don’t know your growing zone, please check the USDA Hardiness Zone Map here.
Soil Conditions: Dutch iris require well-drained soil. If you want to encourage the bulbs to perennialize, choose a planting location where the soil will be hot and dry during the summer months.
Where to Plant Dutch Iris
Perennial Gardens: Dutch iris stand 18 to 24” tall, so they are a perfect height for the middle of a perennial border. If the soil in your perennial garden gets hot and dry during the summer months, the bulbs may perennialize. If the soil stays moist and cool, you should expect to treat your Dutch iris as annuals.
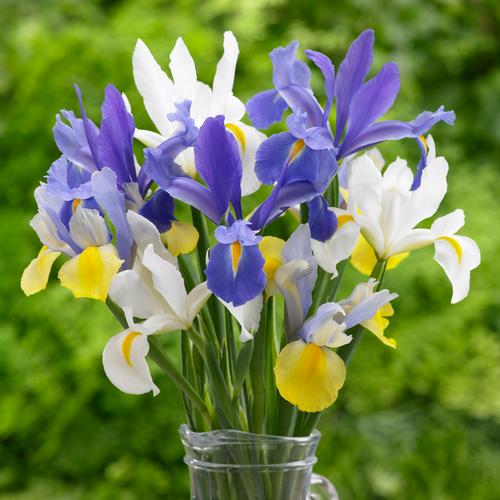
Containers: Dutch iris look great in containers – on their own or mixed with other plants to create a living bouquet. Sturdy stems keep the flowers standing tall and make it easy to admire the delicate beauty of the blossoms.
Cutting Gardens: Dutch iris are one of the world’s most popular florist flowers. Their dramatic blossoms and long, straight stems are easy to arrange and last a long time in bouquets. They also combine beautifully with other early summer flowers and flowering shrubs.
How to Plant Dutch Iris
When to Plant: Dutch iris are planted in the fall, at the same time as tulips and daffodils. For best results, plant the bulbs within a month after receiving them.
Depth and Spacing: Dig a 6" to 8” deep hole. To help improve drainage, you can mix in a little peat moss or compost. Plant the bulbs with the pointy end up, approximately 5” deep and 4” apart.
Planting Tips: Like most bulbs, Dutch iris look best planted in groups. For an impressive show of color, plant about a dozen bulbs per square foot.
What to Expect
In warm climates, Dutch iris may start producing foliage in late fall or early winter. Flowers will follow in spring. In colder areas you will not see any foliage until spring.
Feel free to cut the flower stems for bouquets, leaving the foliage behind.
Caring for Dutch Iris After They Bloom
When growing conditions are ideal, Dutch iris will come back to bloom a second year. In practice, most gardeners treat these bulbs as annuals and plant fresh bulbs each fall.
To get a second season of blooms, remove the spent iris flowers, leaving behind as much of the stem and foliage as possible. Allow the remaining foliage to continue growing until it withers and yellows. During the summer months, while the bulbs are dormant, the soil should be kept dry.
In areas with wet summers, Dutch iris bulbs can be dug up after the leaves yellow. Store the dry bulbs in a dark, cool place and replant them the next fall.

