Anemone Growing Tips for Zones 4-6
Anemones possess a delicate beauty that’s unmatched by other spring flowers. They have tissue paper petals that flutter in the breeze, and their captivating centers will draw you in for a closer look. The anemone’s finely cut foliage is also alluring. It stays low to the ground, and the stems are bare except for a collar of foliage under the flower head. If you live in a cold climate and want to add these enchanting blooms to your spring garden, here are the steps needed to be successful.

When to Plant Anemones
Gardeners in zones 7 and warmer can plant anemone corms in the fall. However, gardeners in zones 6 and colder should plant anemones in the late winter or very early spring. Ideally, they should be planted at the same time as your hardy annuals such as nigella and larkspur. For a late winter planting, begin the soaking and pre-sprouting process approximately 8 weeks before your last expected frost. This way, the pre-sprouted corms will be ready to transplant into the garden 6 weeks before the last frost.
Step 1: Soak Anemone Corms
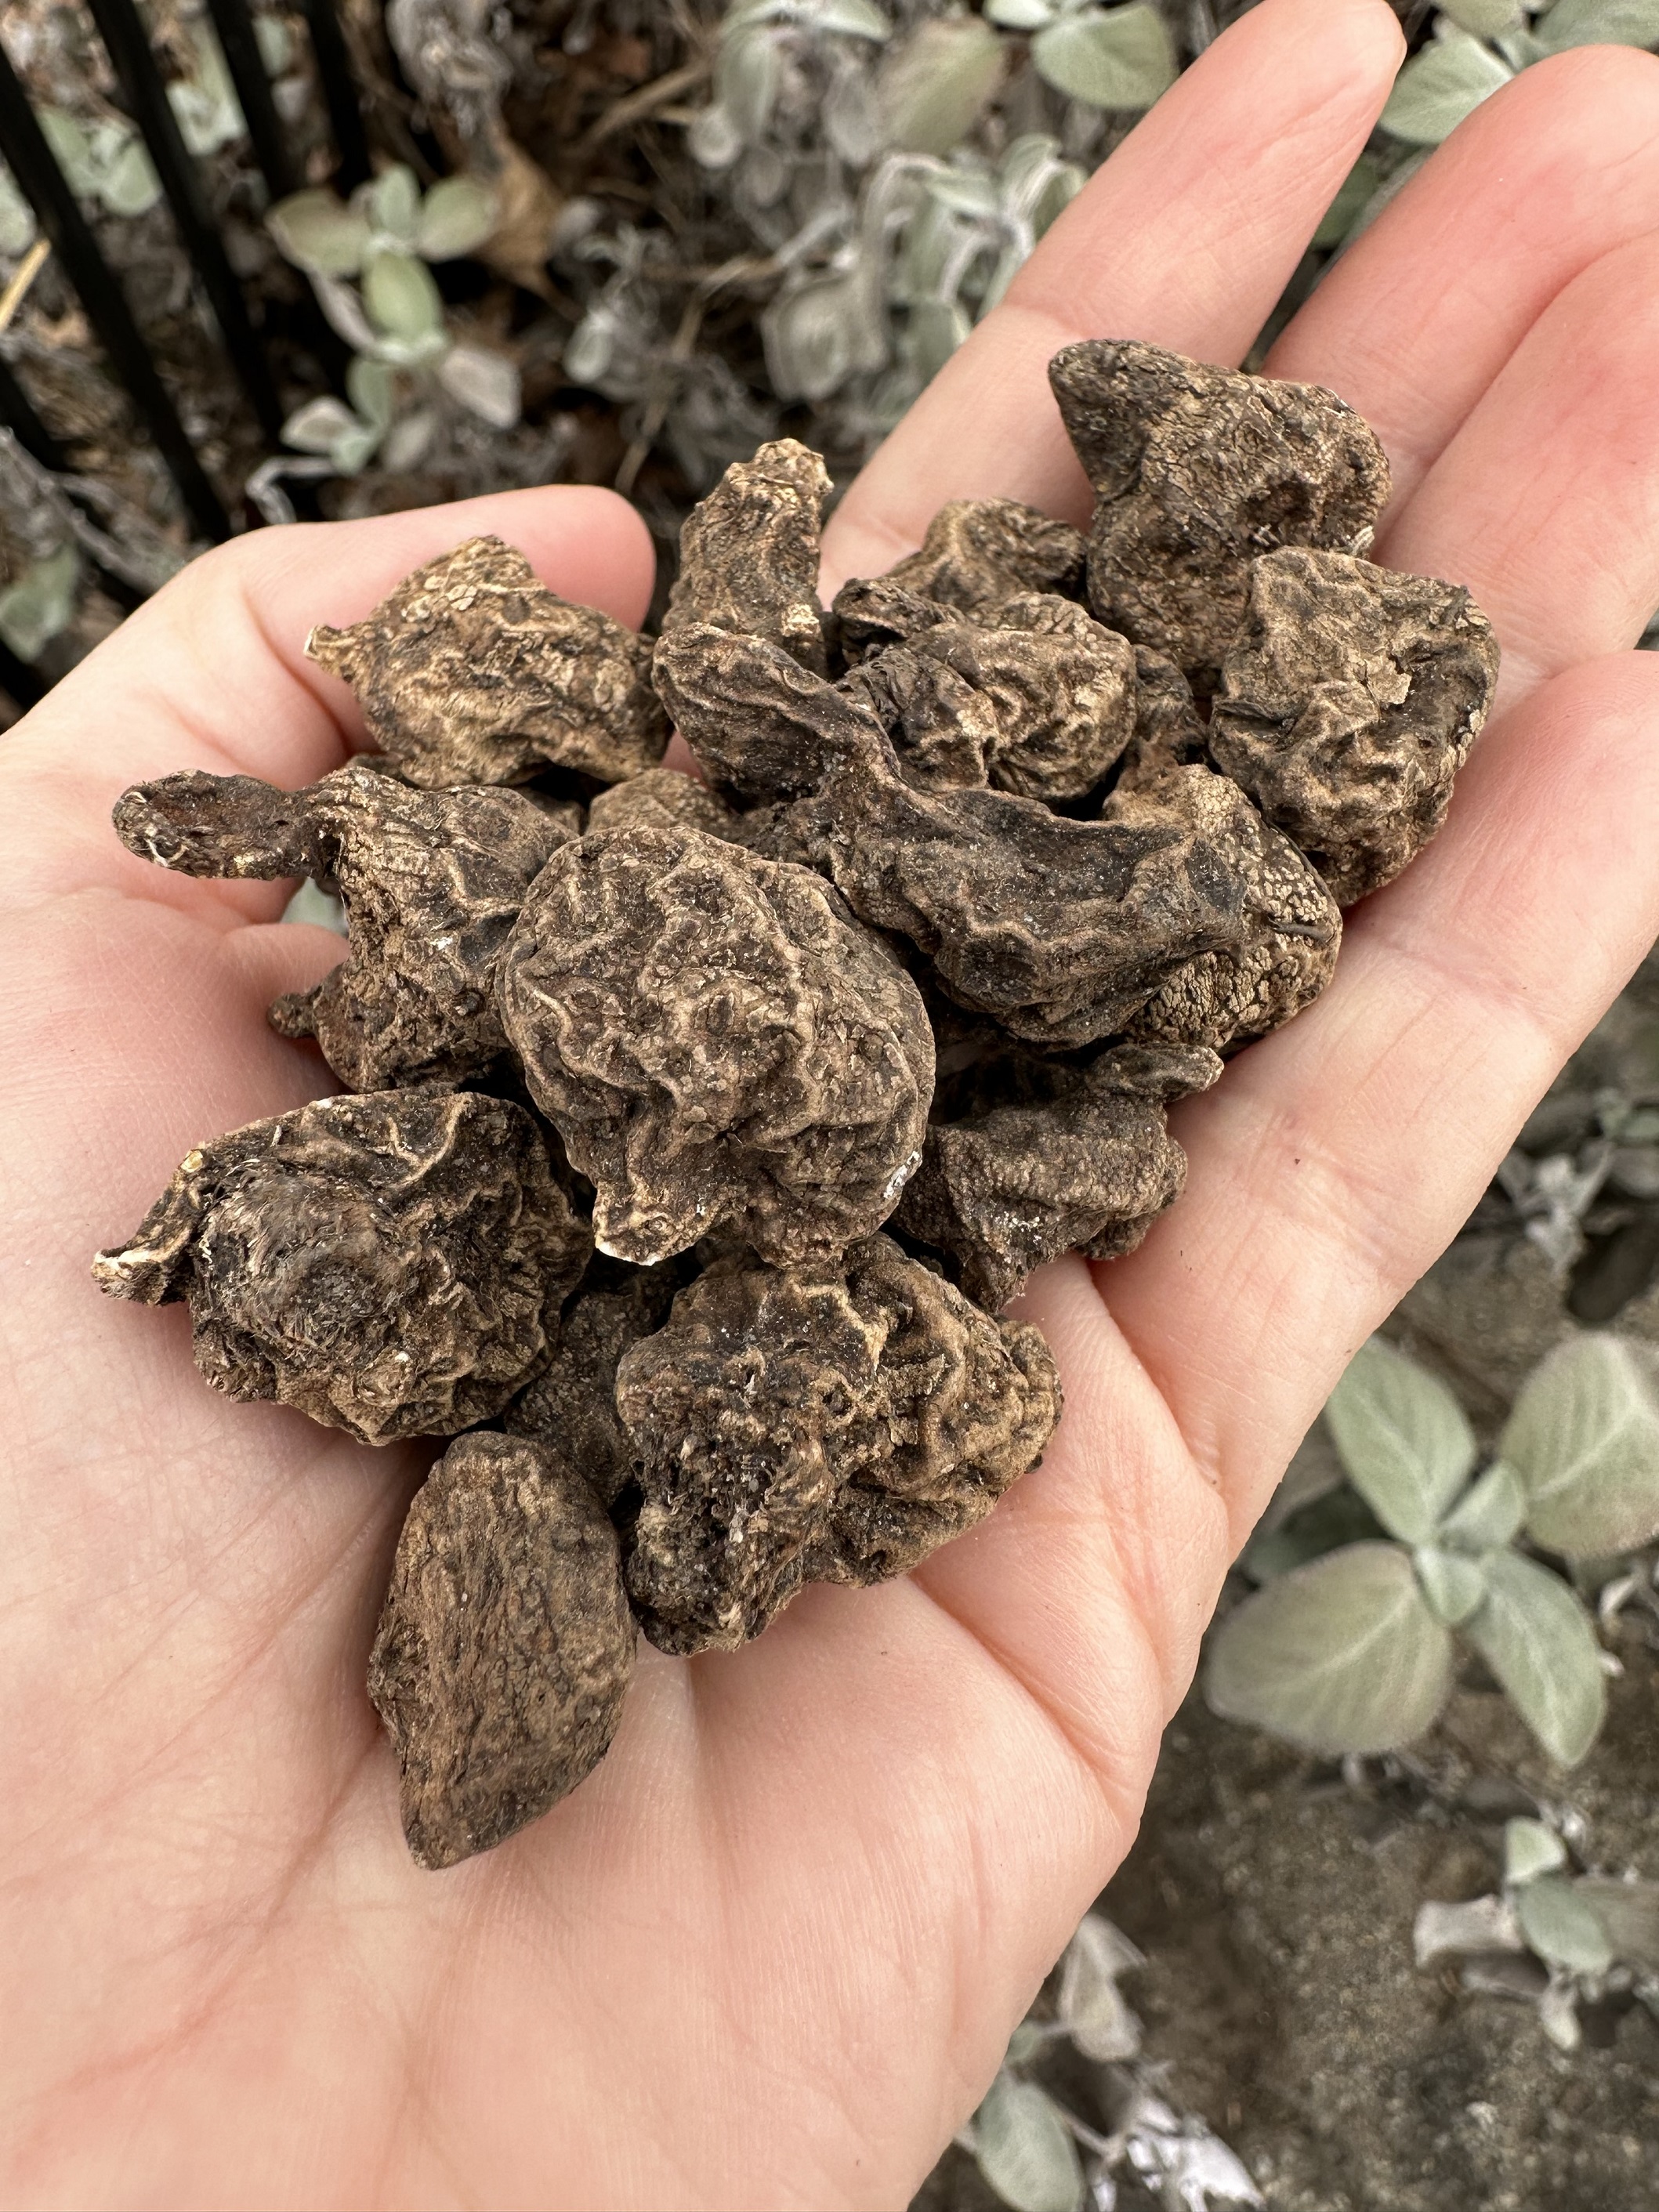
Anemone corms are shipped in a dry and dormant state and may be stored this way for many months. It’s best to purchase corms in the fall so you can wake them up at the proper time for your location. Here in zone 6b, I purchase fall corms and store them in my basement until February. Storage conditions should be dark, dry, and roughly room temperature.
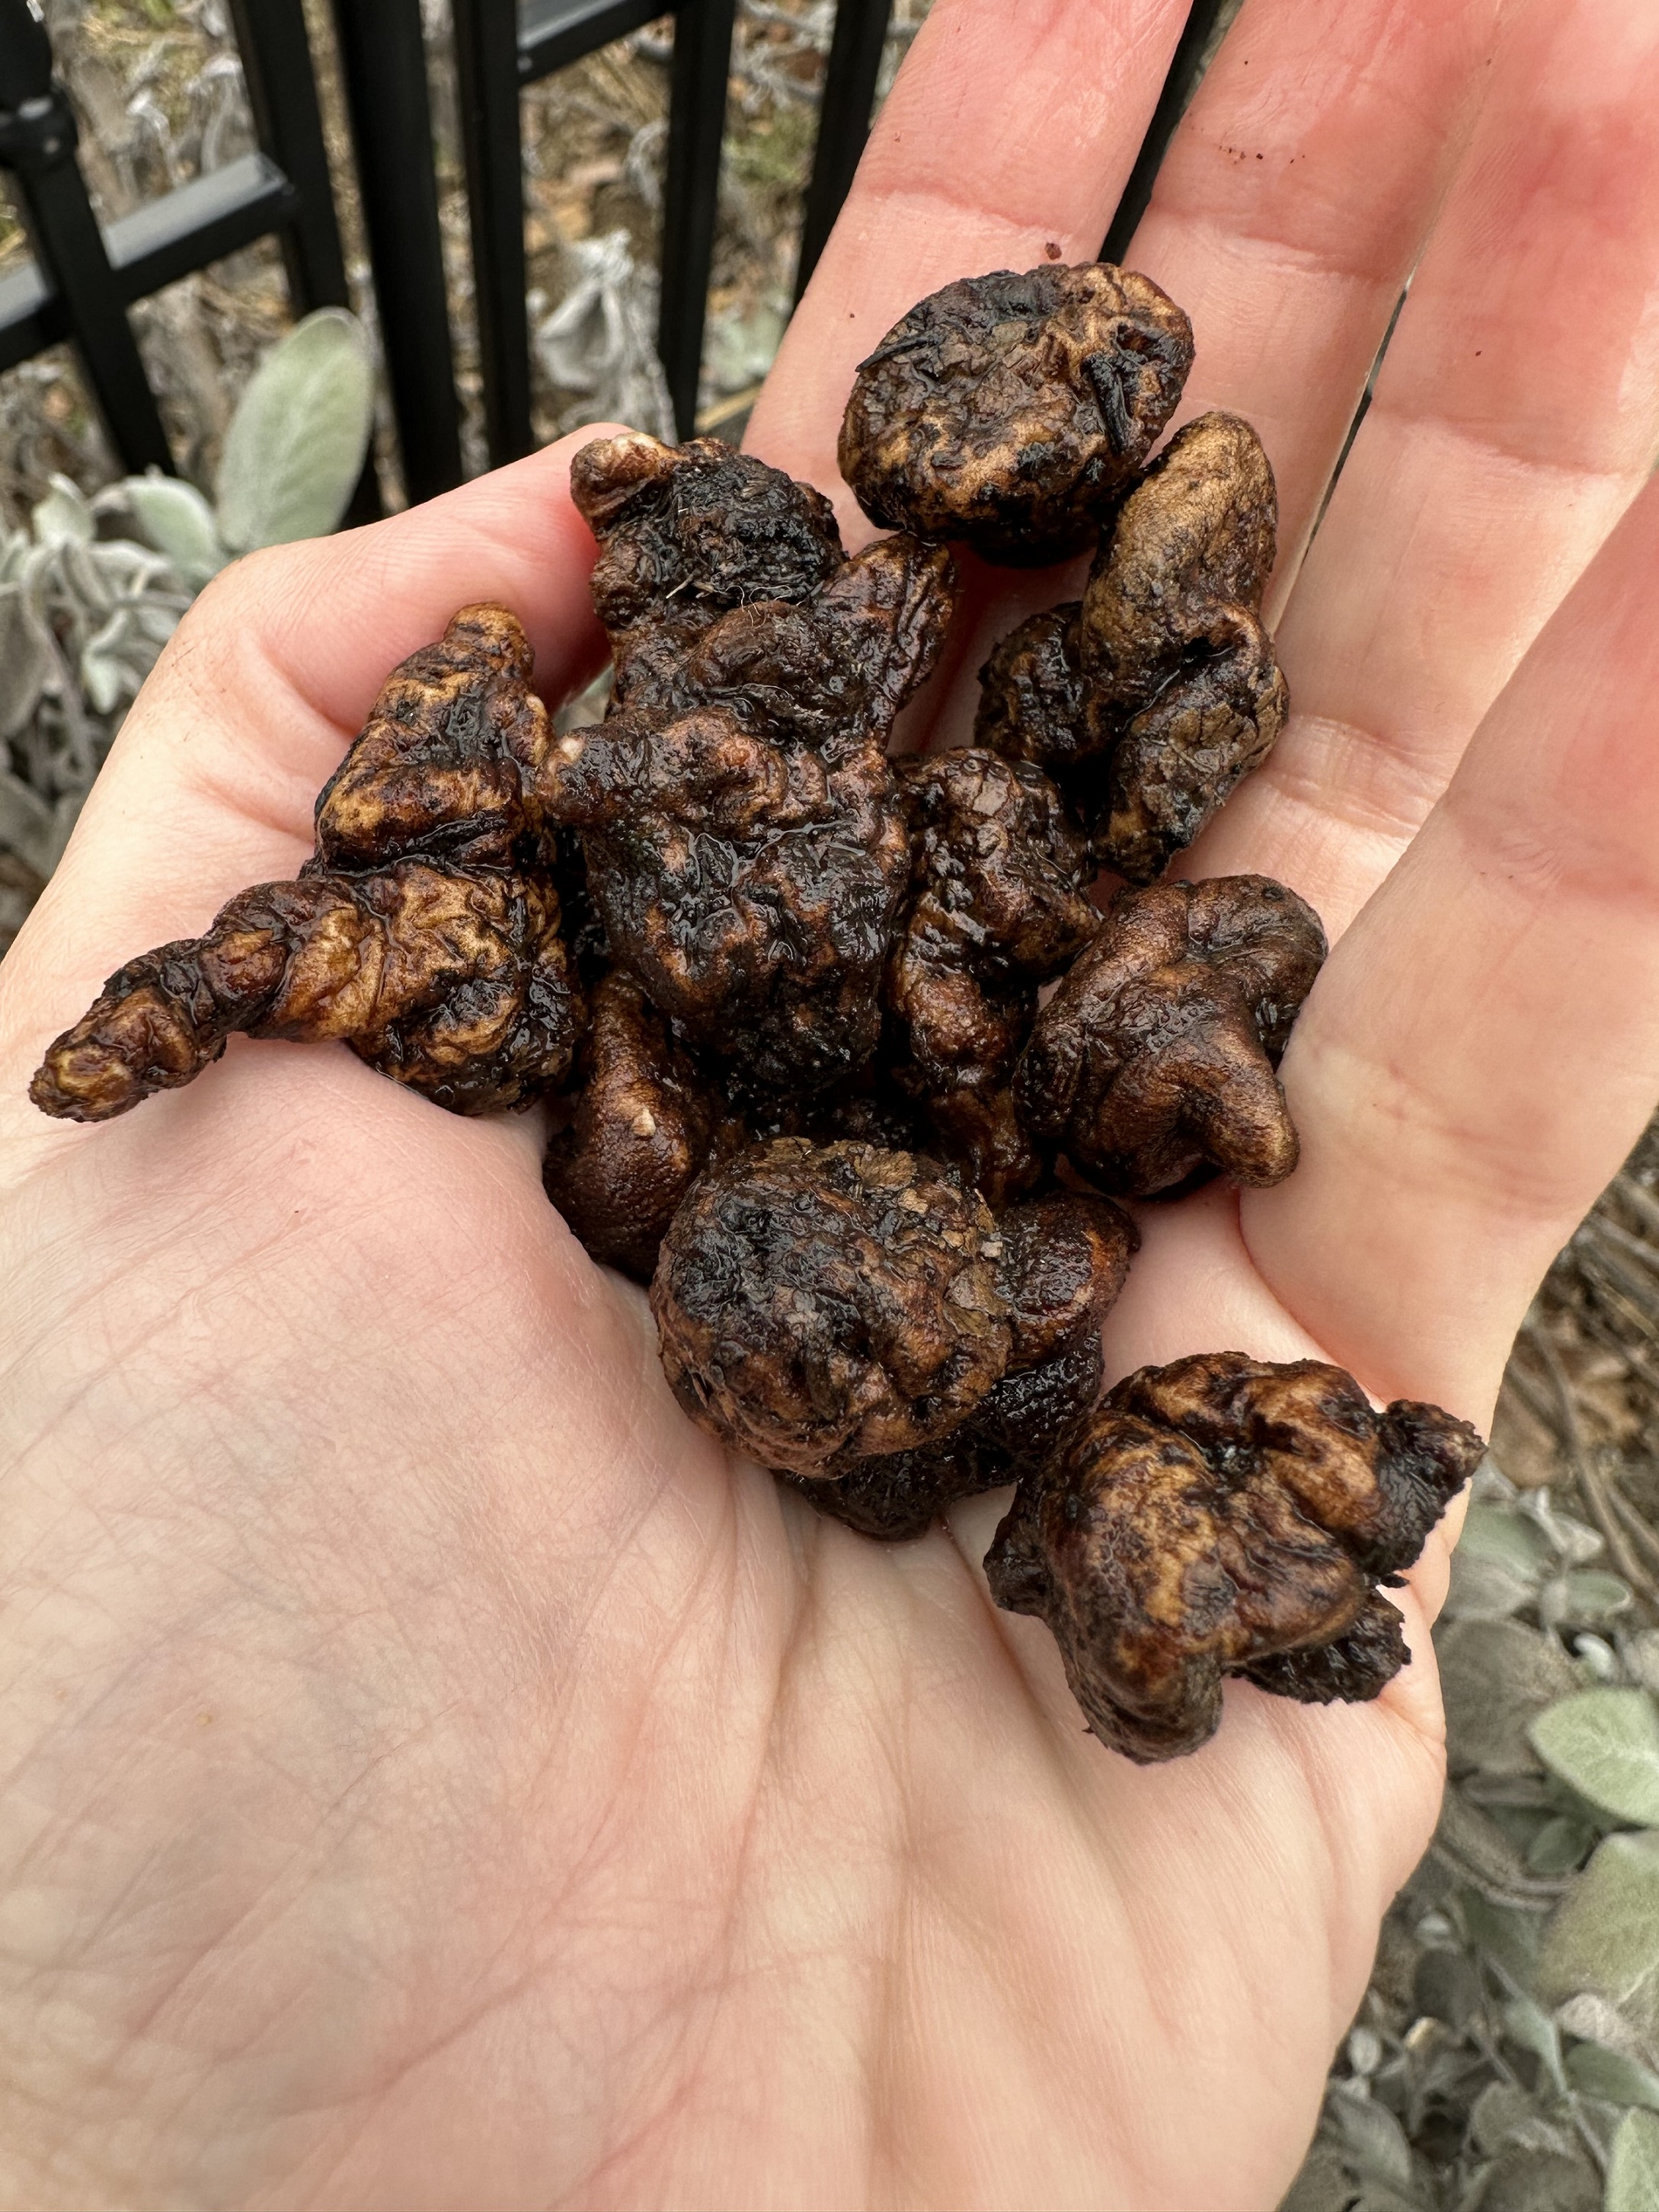
Start by soaking the dry anemone corms in a bucket of room temperature water for 4 hours. Change the water once every hour to keep it fresh. Alternatively, you can allow a constant gentle stream of water to run into the bucket. After 4 hours you’ll notice that the corms have expanded slightly in size. They will still look wrinkly and will not expand as much as ranunculus corms. This is normal.
Step 2: Pre-Sprout Anemone Corms
Soaking anemone corms before planting is necessary, but pre-sprouting them is optional. The corms will grow and bloom just fine if you plant them immediately after soaking. Pre-sprouting gives the plants a jump start on the growing season. Similar to starting seeds indoors vs. direct seeding them into the garden.
To pre-sprout anemone corms, fill a watertight, flat bottom tray with 2 inches of lightly moistened, high quality potting soil. Place the soaked corms onto the soil with the pointy side down. (If you can’t decide which part of the corm is pointy, don’t worry about it.) Cover the corms with an inch of lightly moistened potting soil. You can place the corms closely together since they will only be in this tray for a few weeks.
Place the tray in a cool, dark place for 2-3 weeks. The ideal temperature for pre-sprouting is about 50°F. An unheated basement or cool closet usually works well.
Keep the soil slightly moist and check the corms often. Immediately discard any that are rotten or moldy. Mold and rot occur when the environment is too humid or the soil is too wet. If the corms fail to develop roots after 2-3 weeks, the soil is likely too dry, or the area is too hot.
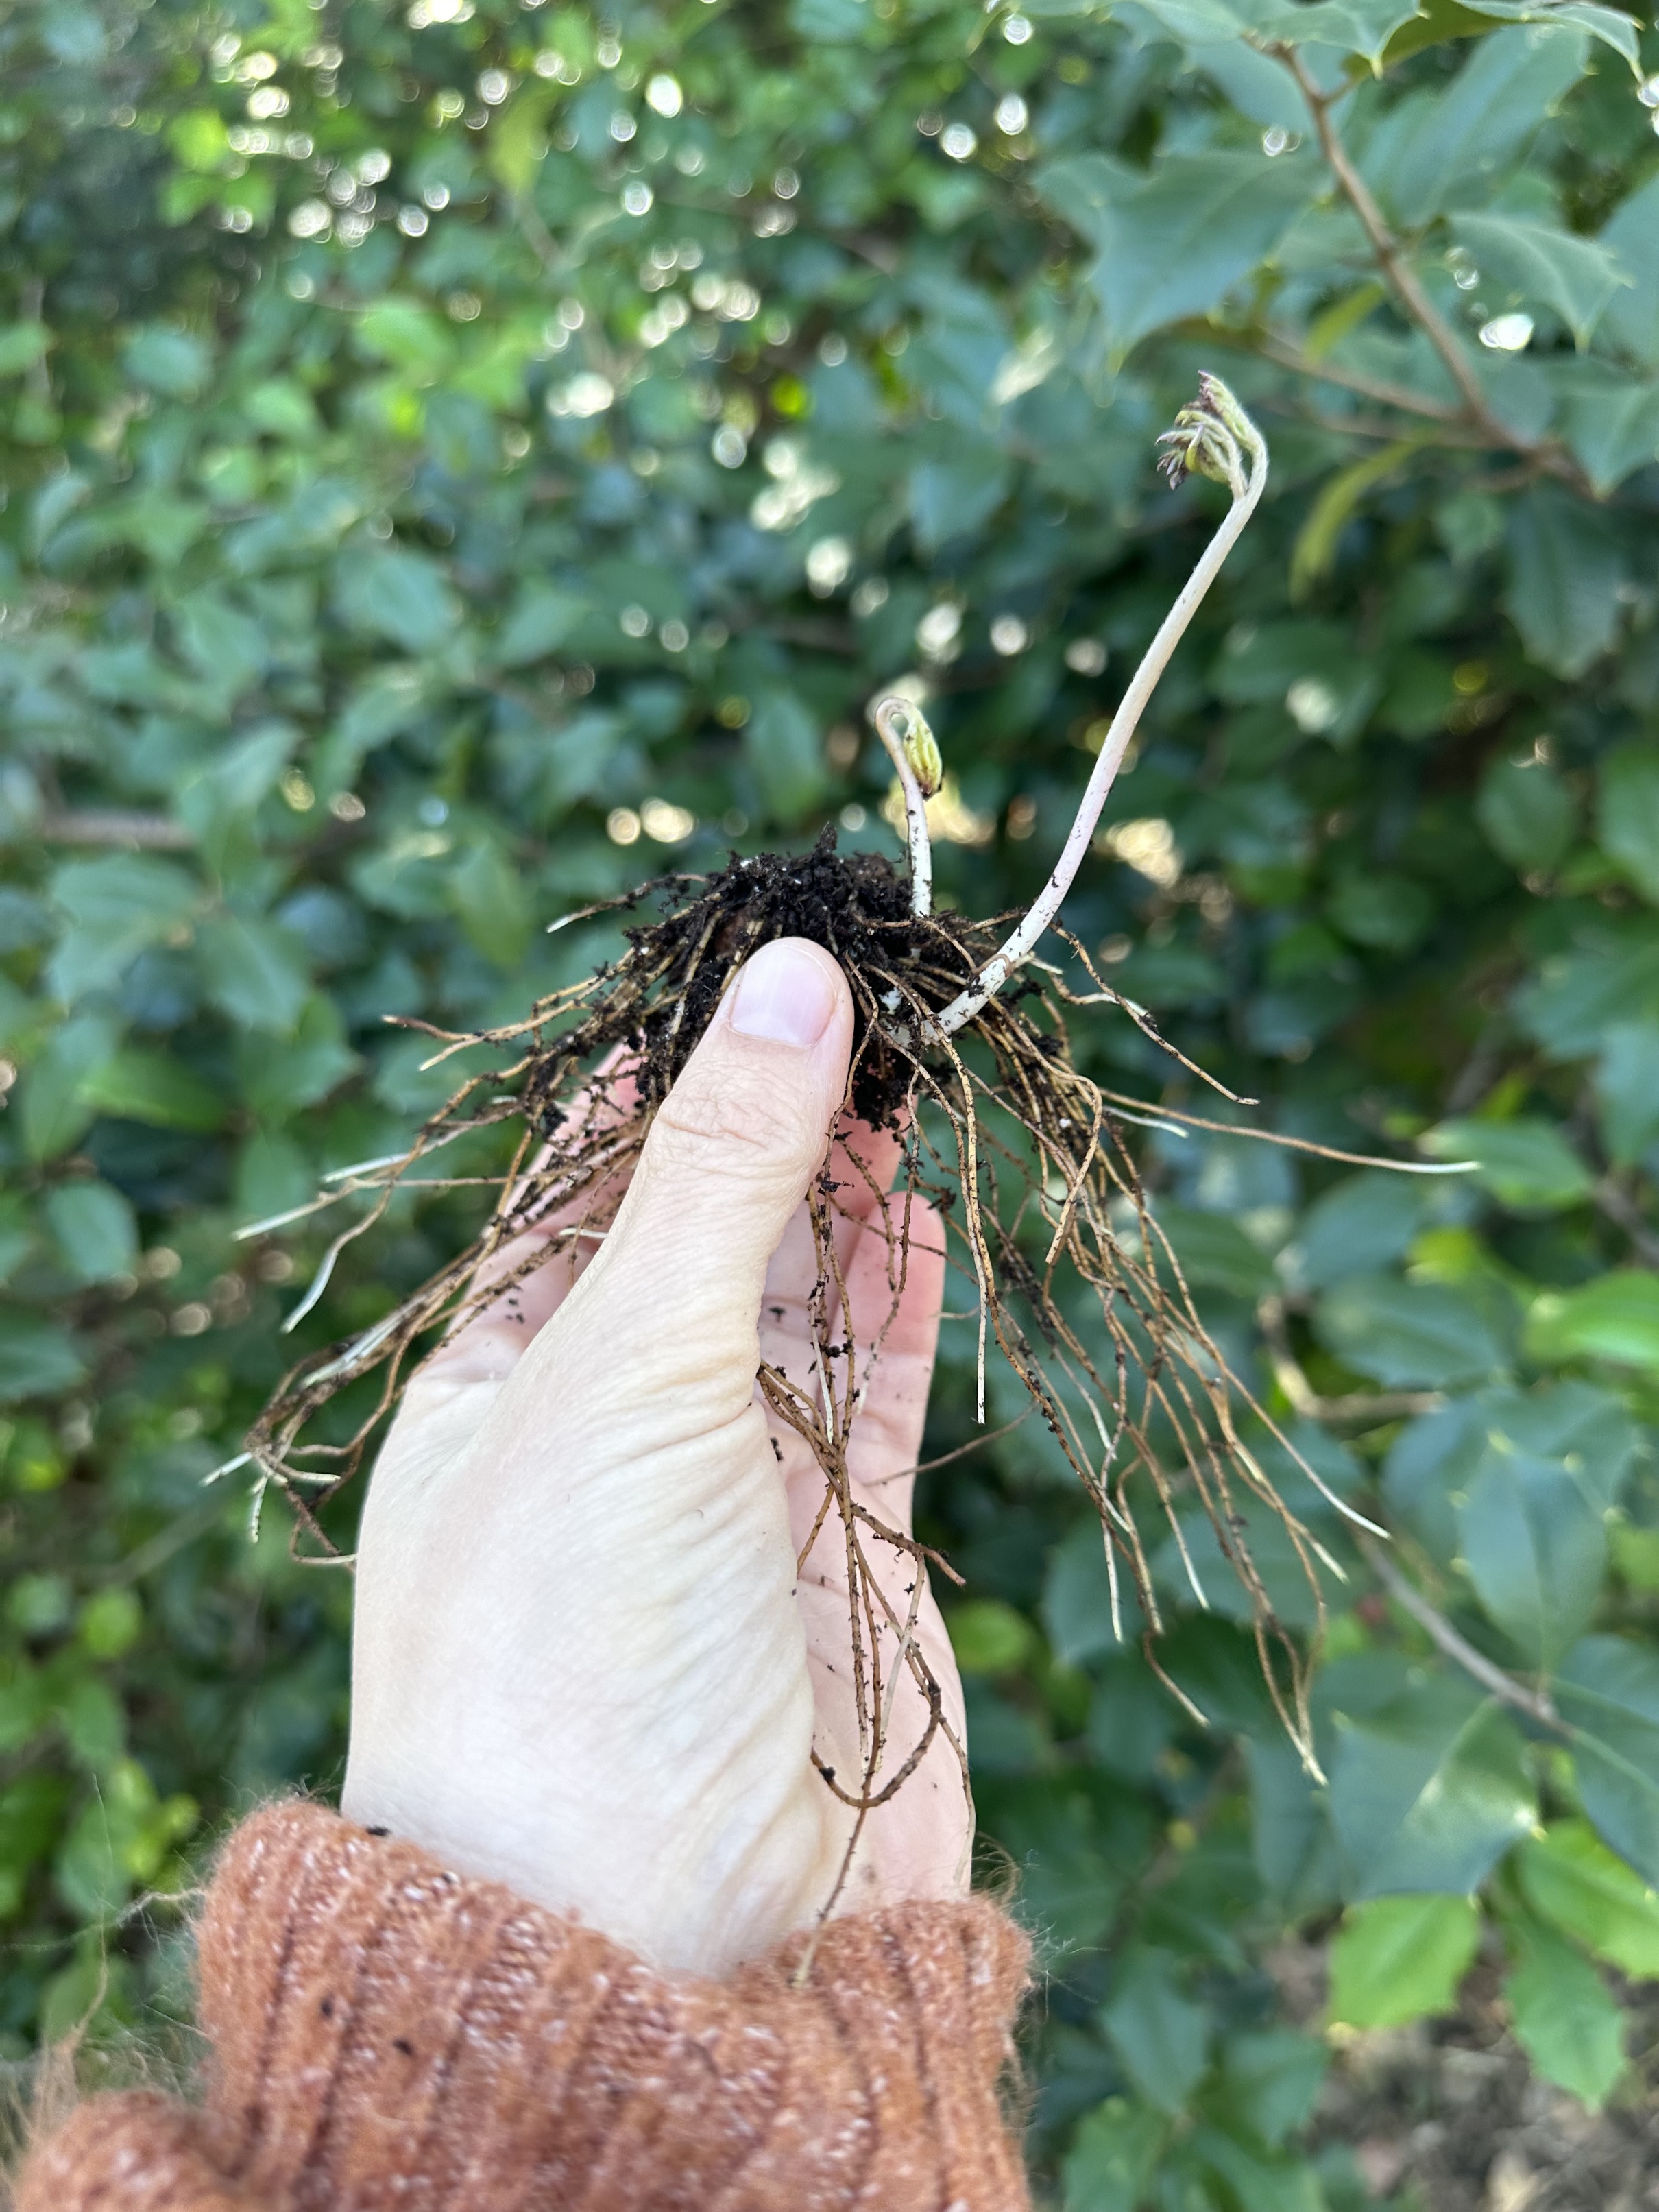
Within 2-3 weeks, the corms should have developed roots and small white shoots. This is when they should be planted out into the garden.
Step 3: Planting Anemones Outside
Anemones grow best in full to part sun and rich, well-draining soil. Prior to planting, enrich the soil by incorporating several inches of compost. Then plant the pre-sprouted corms 2” deep and 6” apart.
As the anemones grow, keep a close watch on the weather forecast. If freezing temperatures are expected, cover the planting area with hoops and frost cloth. As soon as temperatures rise above freezing, remove the frost cloth so it doesn’t get too hot under the tunnel. Anemones prefer cool nights at 45-55° F, and sunny days at 60-70° F.
Keep the area weed free and water as needed to keep the soil moist. Anemones usually begin blooming about 12 weeks after planting and continue flowering until hot weather causes them to go dormant.
Harvesting Anemone Flowers
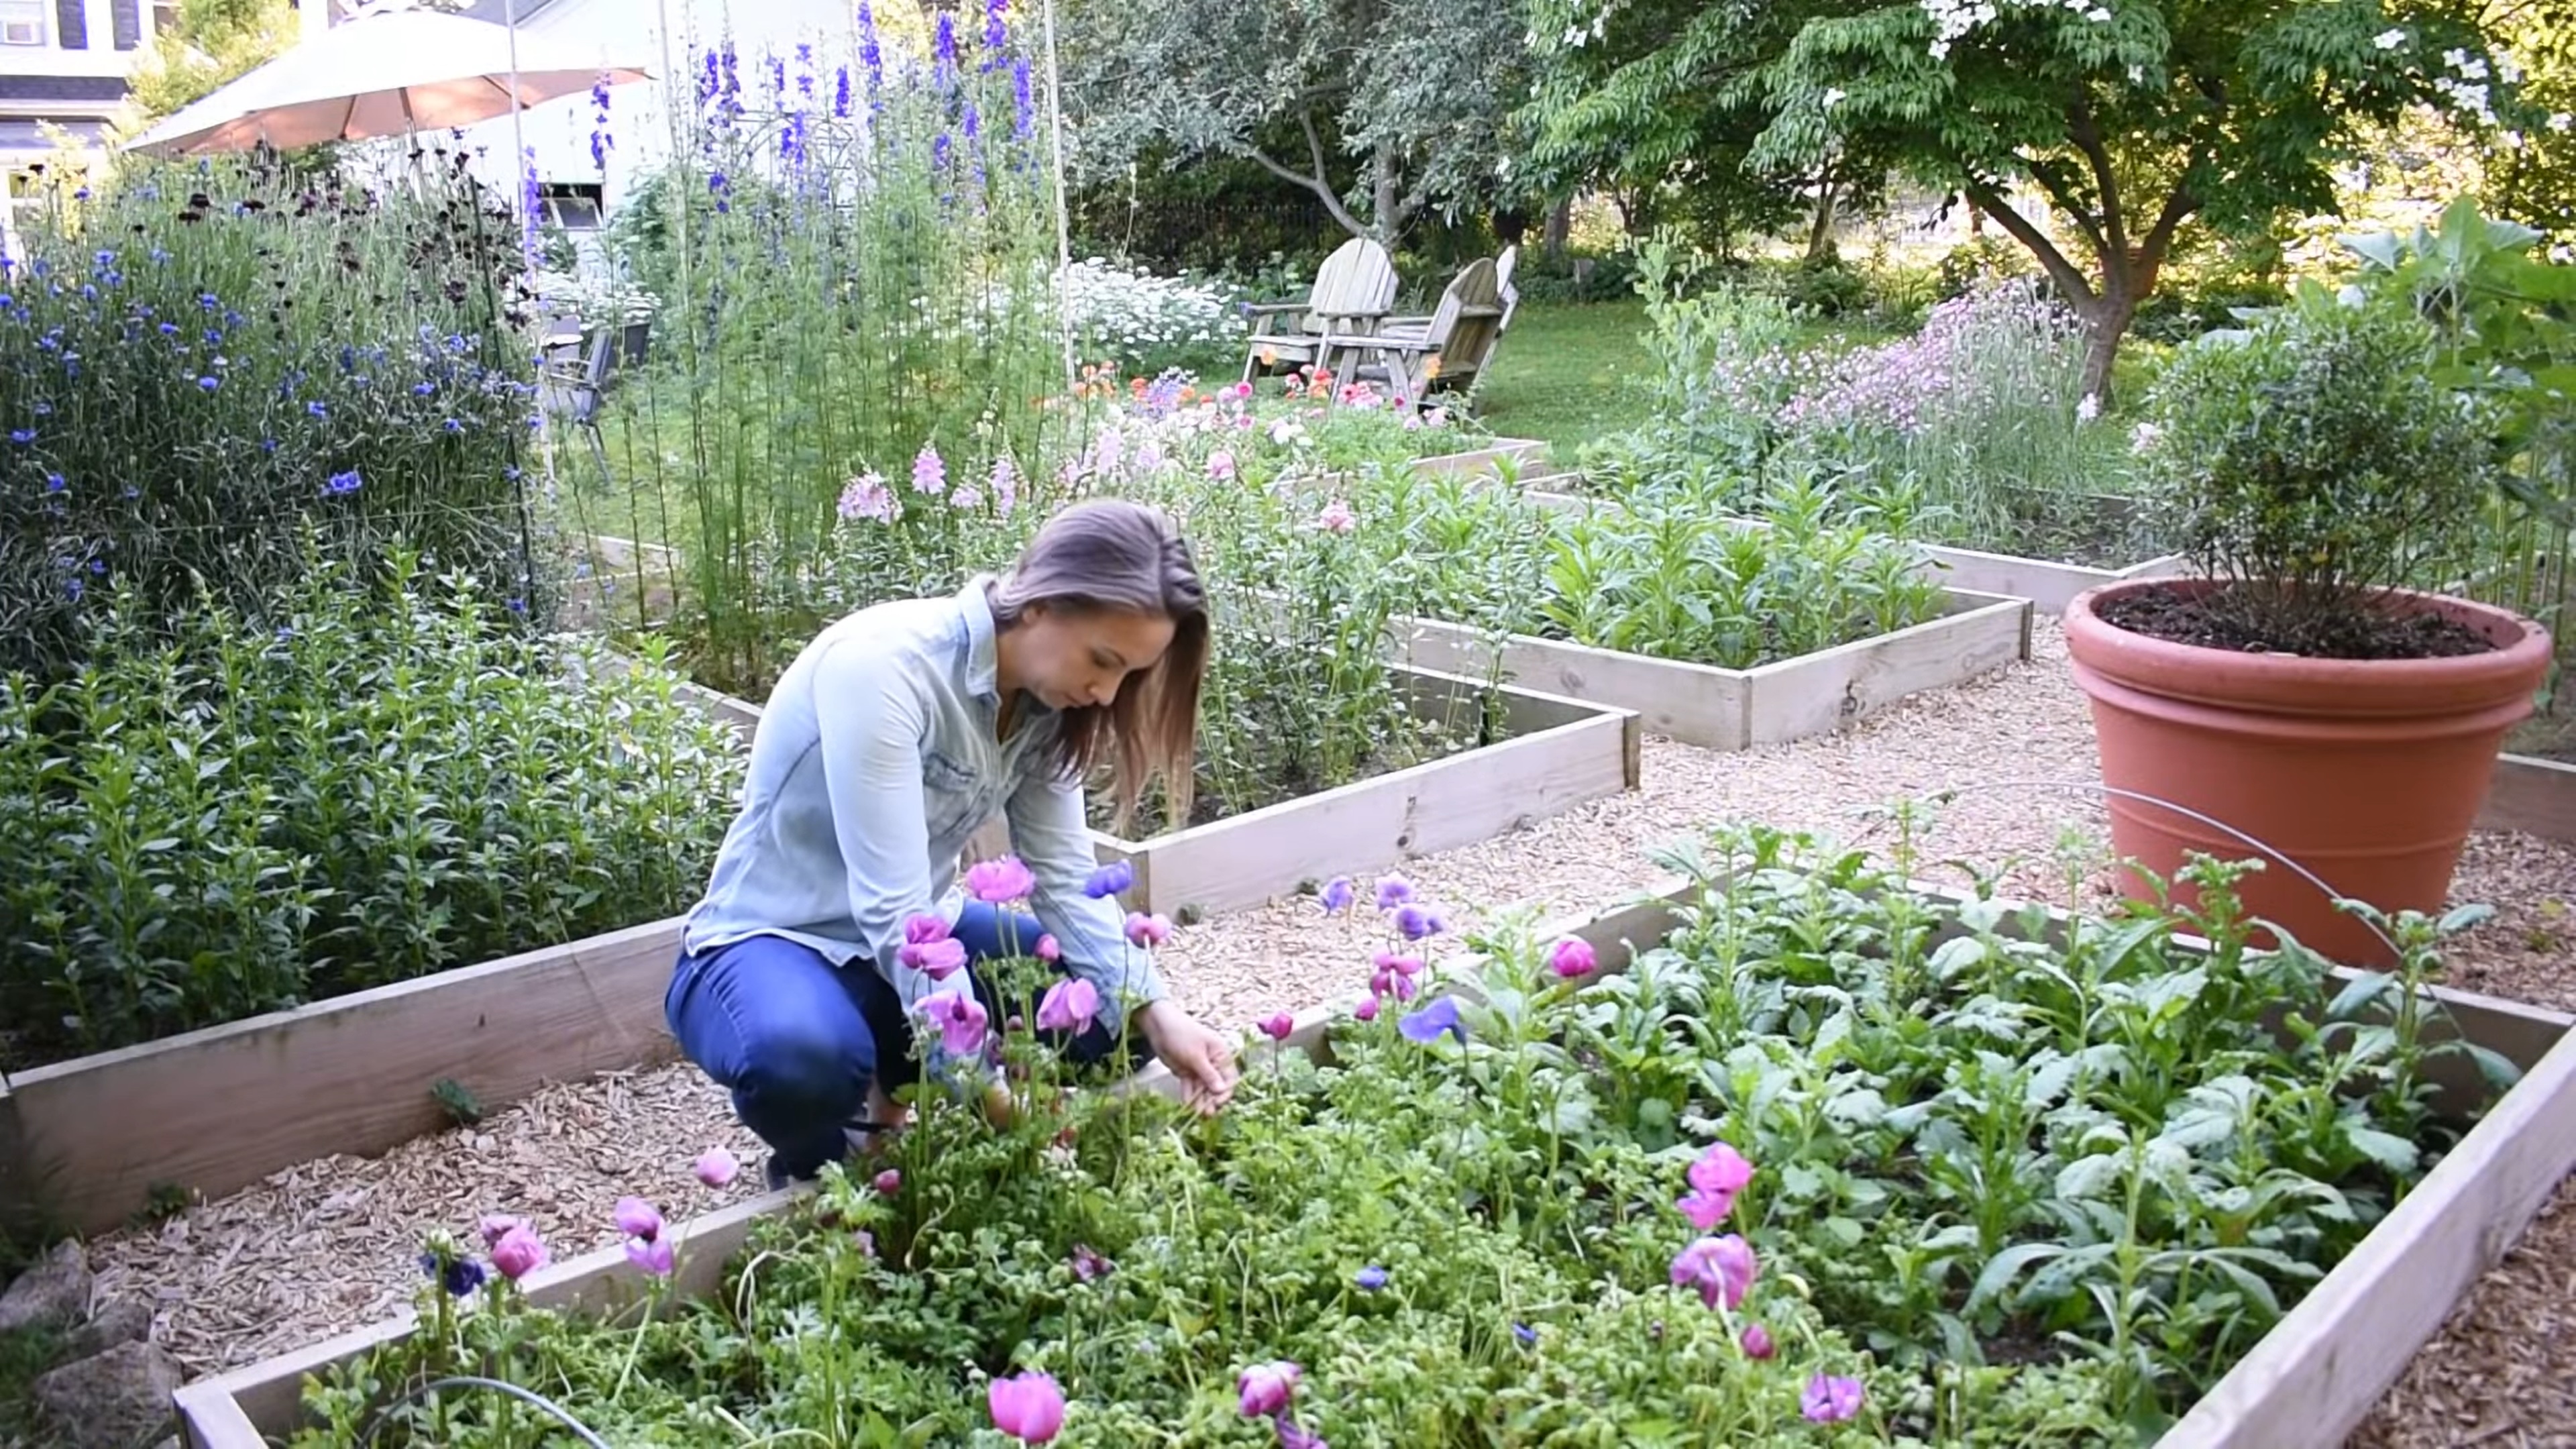
To get the longest vase life, harvest anemone flowers before the petals are fully open. As anemones age, the distance between the leaf collar and flower widens. Ideally, the leaf collar should be one half to three-quarters of an inch below the flower head. If you harvest anemones when the leaf collar is still touching the flower head, the blossom may never open. If you wait until the flower is fully open and showing pollen, the vase life will only be a few days.
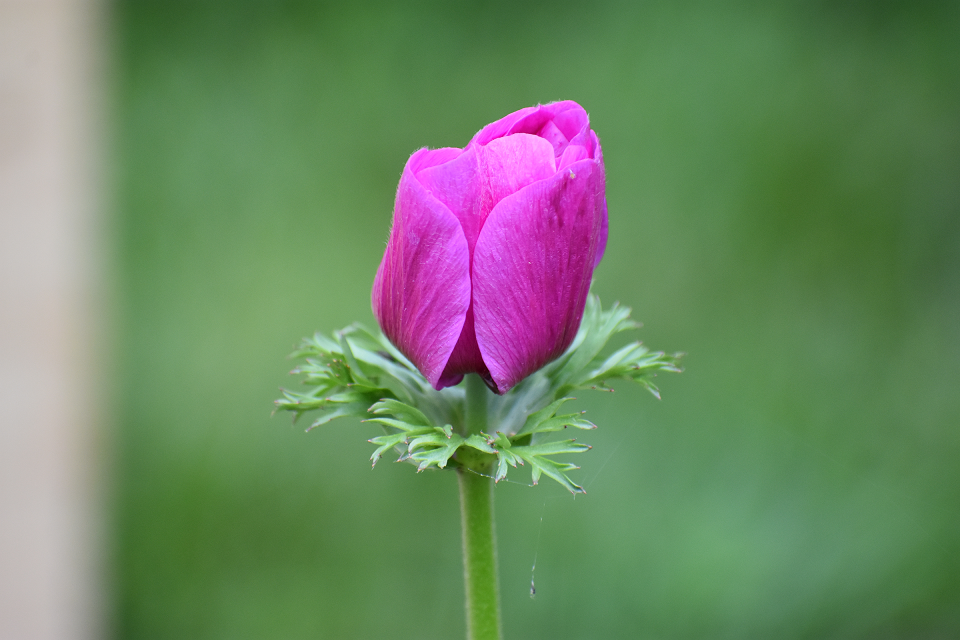
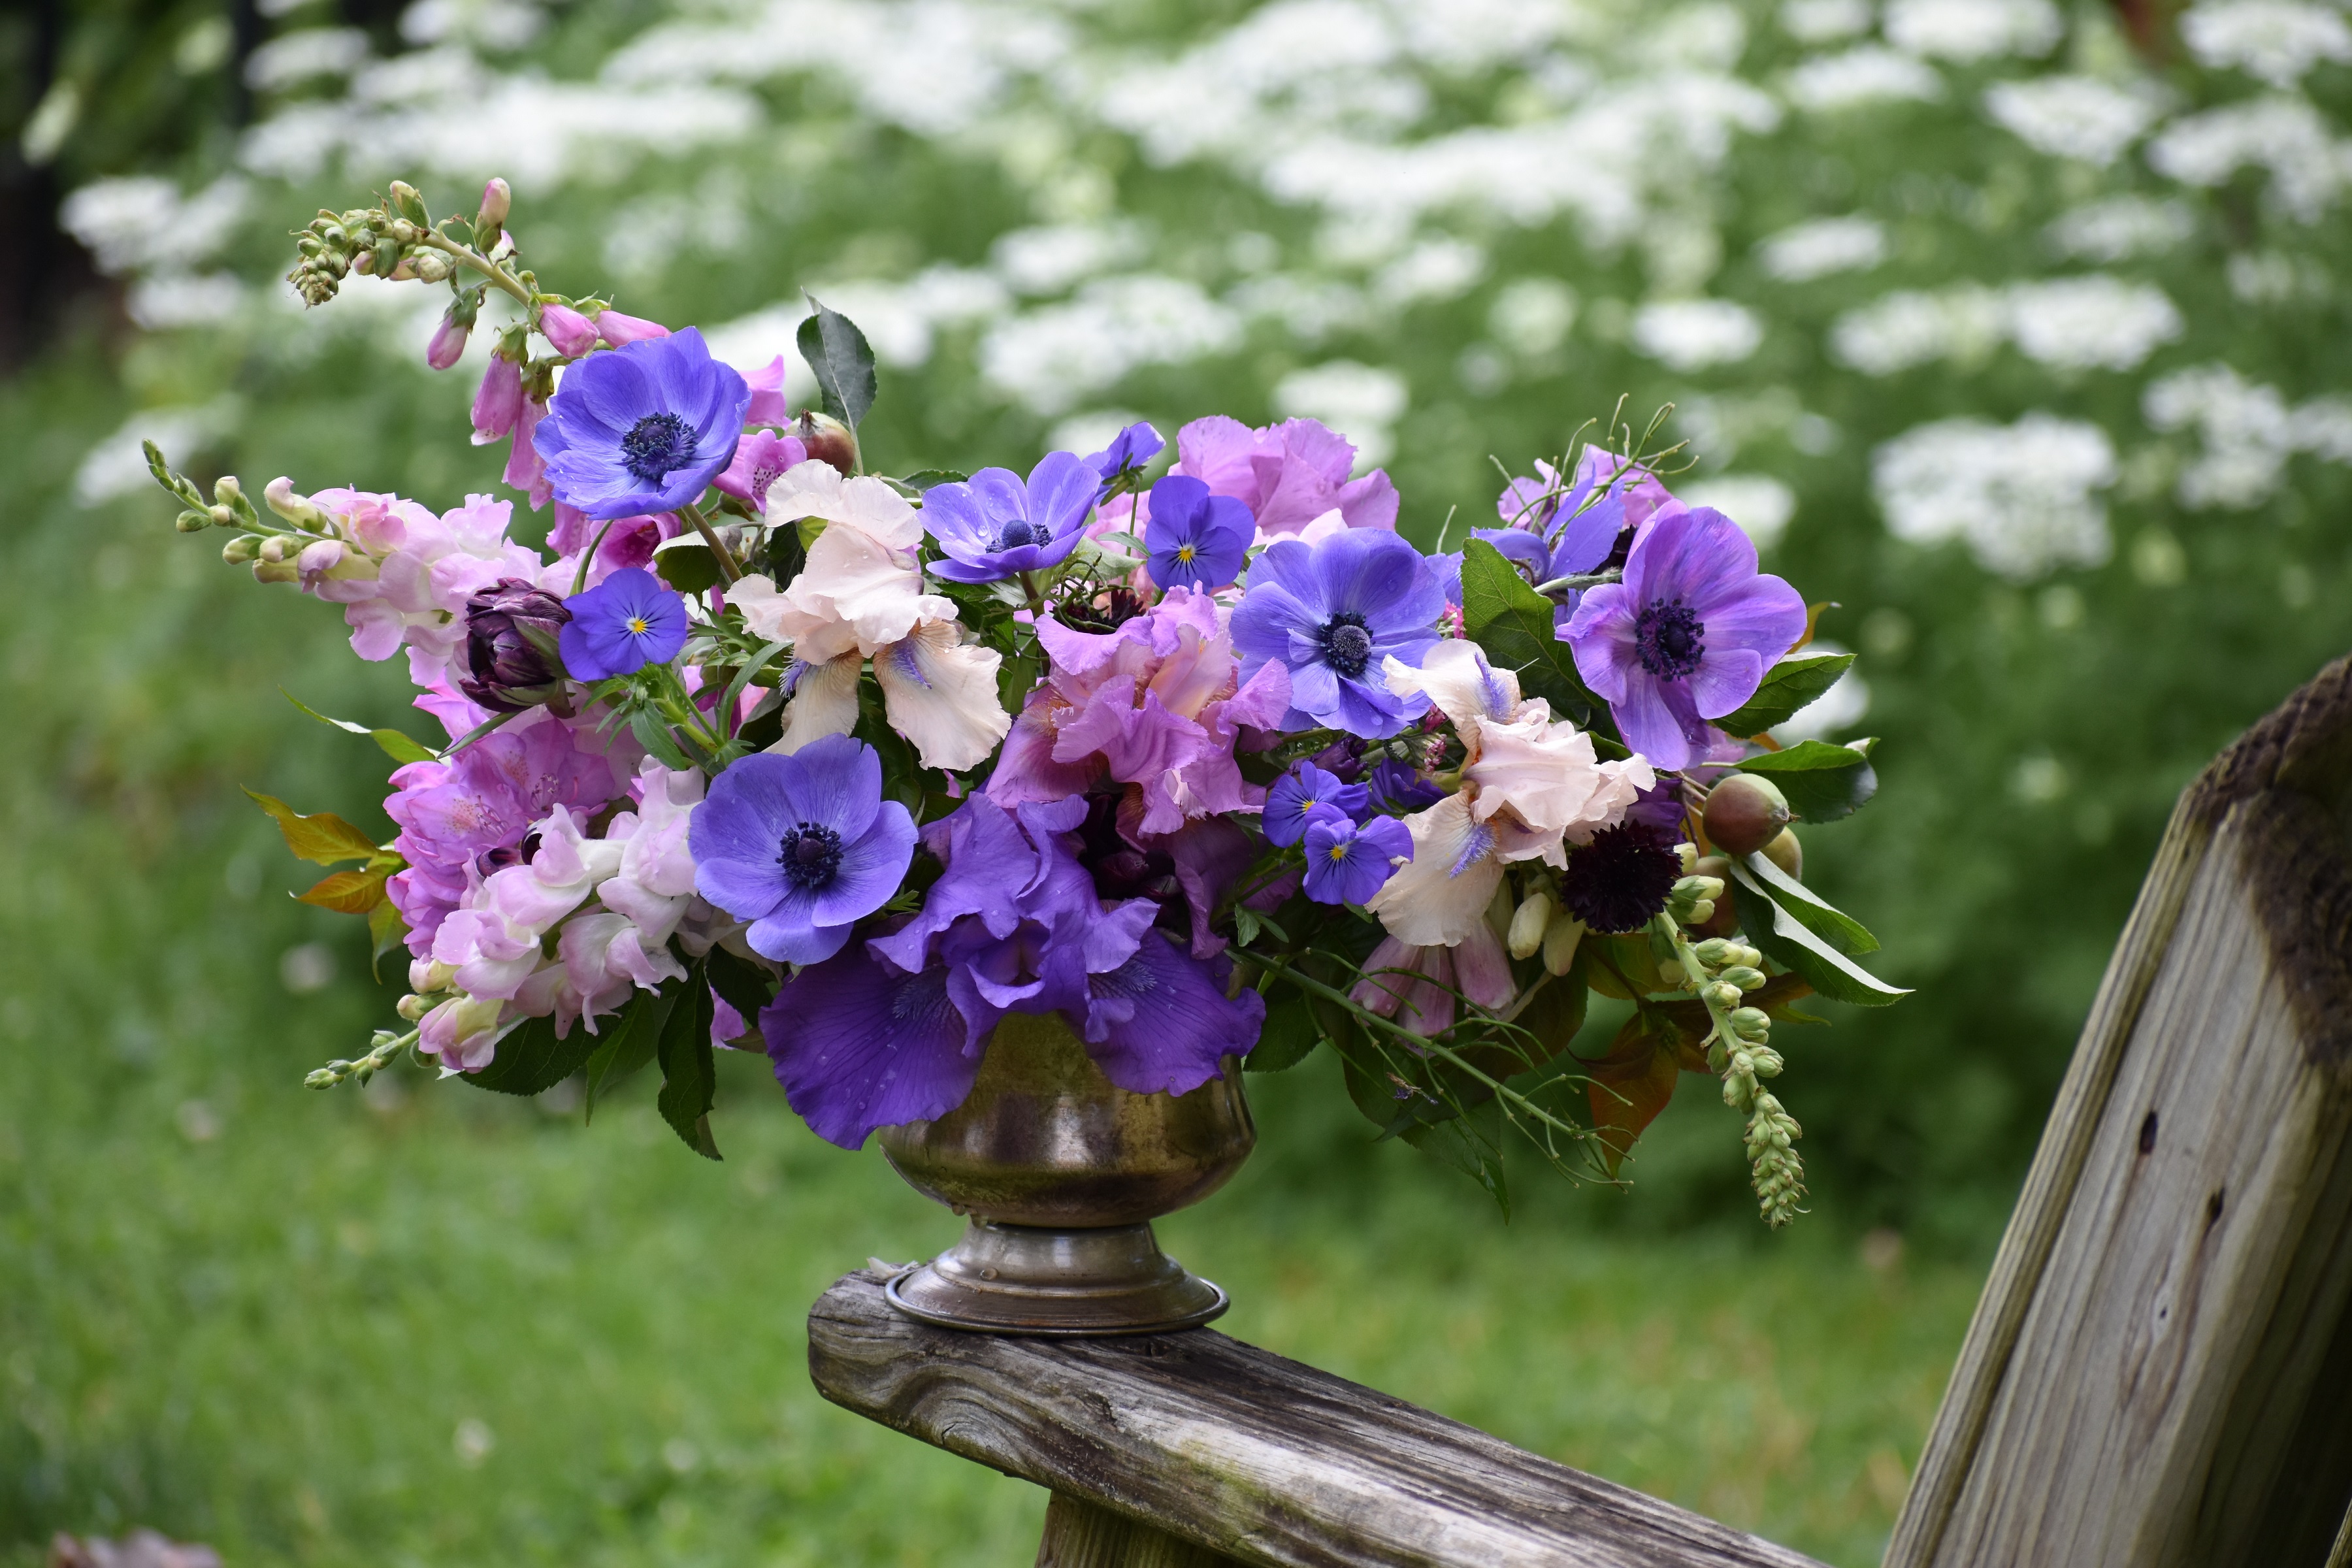
Picked at the correct stage, anemones should last 7-10 days in the vase. It’s common for the stems to be relatively short at the start of the season and gradually get longer. Note that some varieties of anemones are naturally short. If you are growing anemones to cut for yourself or to sell, purchase a variety that’s naturally quite tall, such as Jerusalem, Galilee, Meron, Carmel, Mistral, or Marianne.
Digging Anemone Corms
In hardiness zones 7 and warmer, anemone corms can be left in the ground to perennialize. Gardeners in zone 6 may have varying degrees of success getting anemones to survive the winter. To be safe, if you live in zones 6 and colder, you should dig the corms and store them inside over the winter.
Anemone corms should be dug after the heat of summer has turned the leaves yellow. Once this occurs, you can remove the foliage, dig up the corms, and let them dry for about 2 days. Then store the corms in mesh bags in a dark, dry, room temperature location over the winter. In the late winter or early spring start the process again.
Click HERE to learn more about anemones. Shop our complete selection of anemone corms HERE.
